In this section we look at how to apply the correct wheel cleaner to the wheels, how to agitate correctly, rinse and ensure you have clean wheels.
HOW TO APPLY WHEEL CLEANER PROPERLY
Not applying wheel cleaner correctly, leaving it on too long or not rinsing enough is one of the most common mistakes and one that even the best of us can fall foul of. Time poor with failing light, closing weather or the job needs to be completed for a client, it’s all too easy to cut corners.
First and most important rule is to clean one wheel at a time. This is to make sure we do each job correctly, fully and safely. It also prevents the wheel cleaner from drying as the product is agitated and rinsed off quicker.
The other key rule is to always clean the wheels of your vehicle first before tackling the bodywork. The reason being is that normally the wheels are the dirtiest part of the car. When cleaning the contaminants off the wheel, splash back and wheel contaminants can often get splashed onto the side of car meaning you have to clean the car again if it was done first. Also, car shampoo is a lot milder than wheel cleaners. Having car shampoo on clean wheels is a lot safer than having wheel cleaner on clean paint.
So keeping in mind you always clean the wheels first and one wheel at a time; how do you start cleaning?
STEP 1: Firstly rinse the wheel to remove any loose contaminants. Pressure washes are great as the shape of the spray water can be controlled to follow the wheel shape and spokes, the wheel arch and tyres as well as the higher pressure can dislodge dirt easier. If you don’t have a pressure washer then a hose pipe is fine.
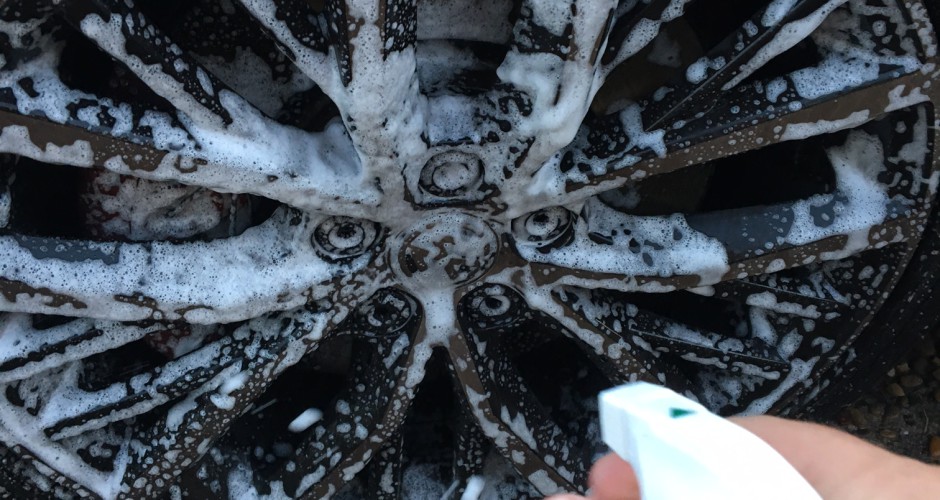
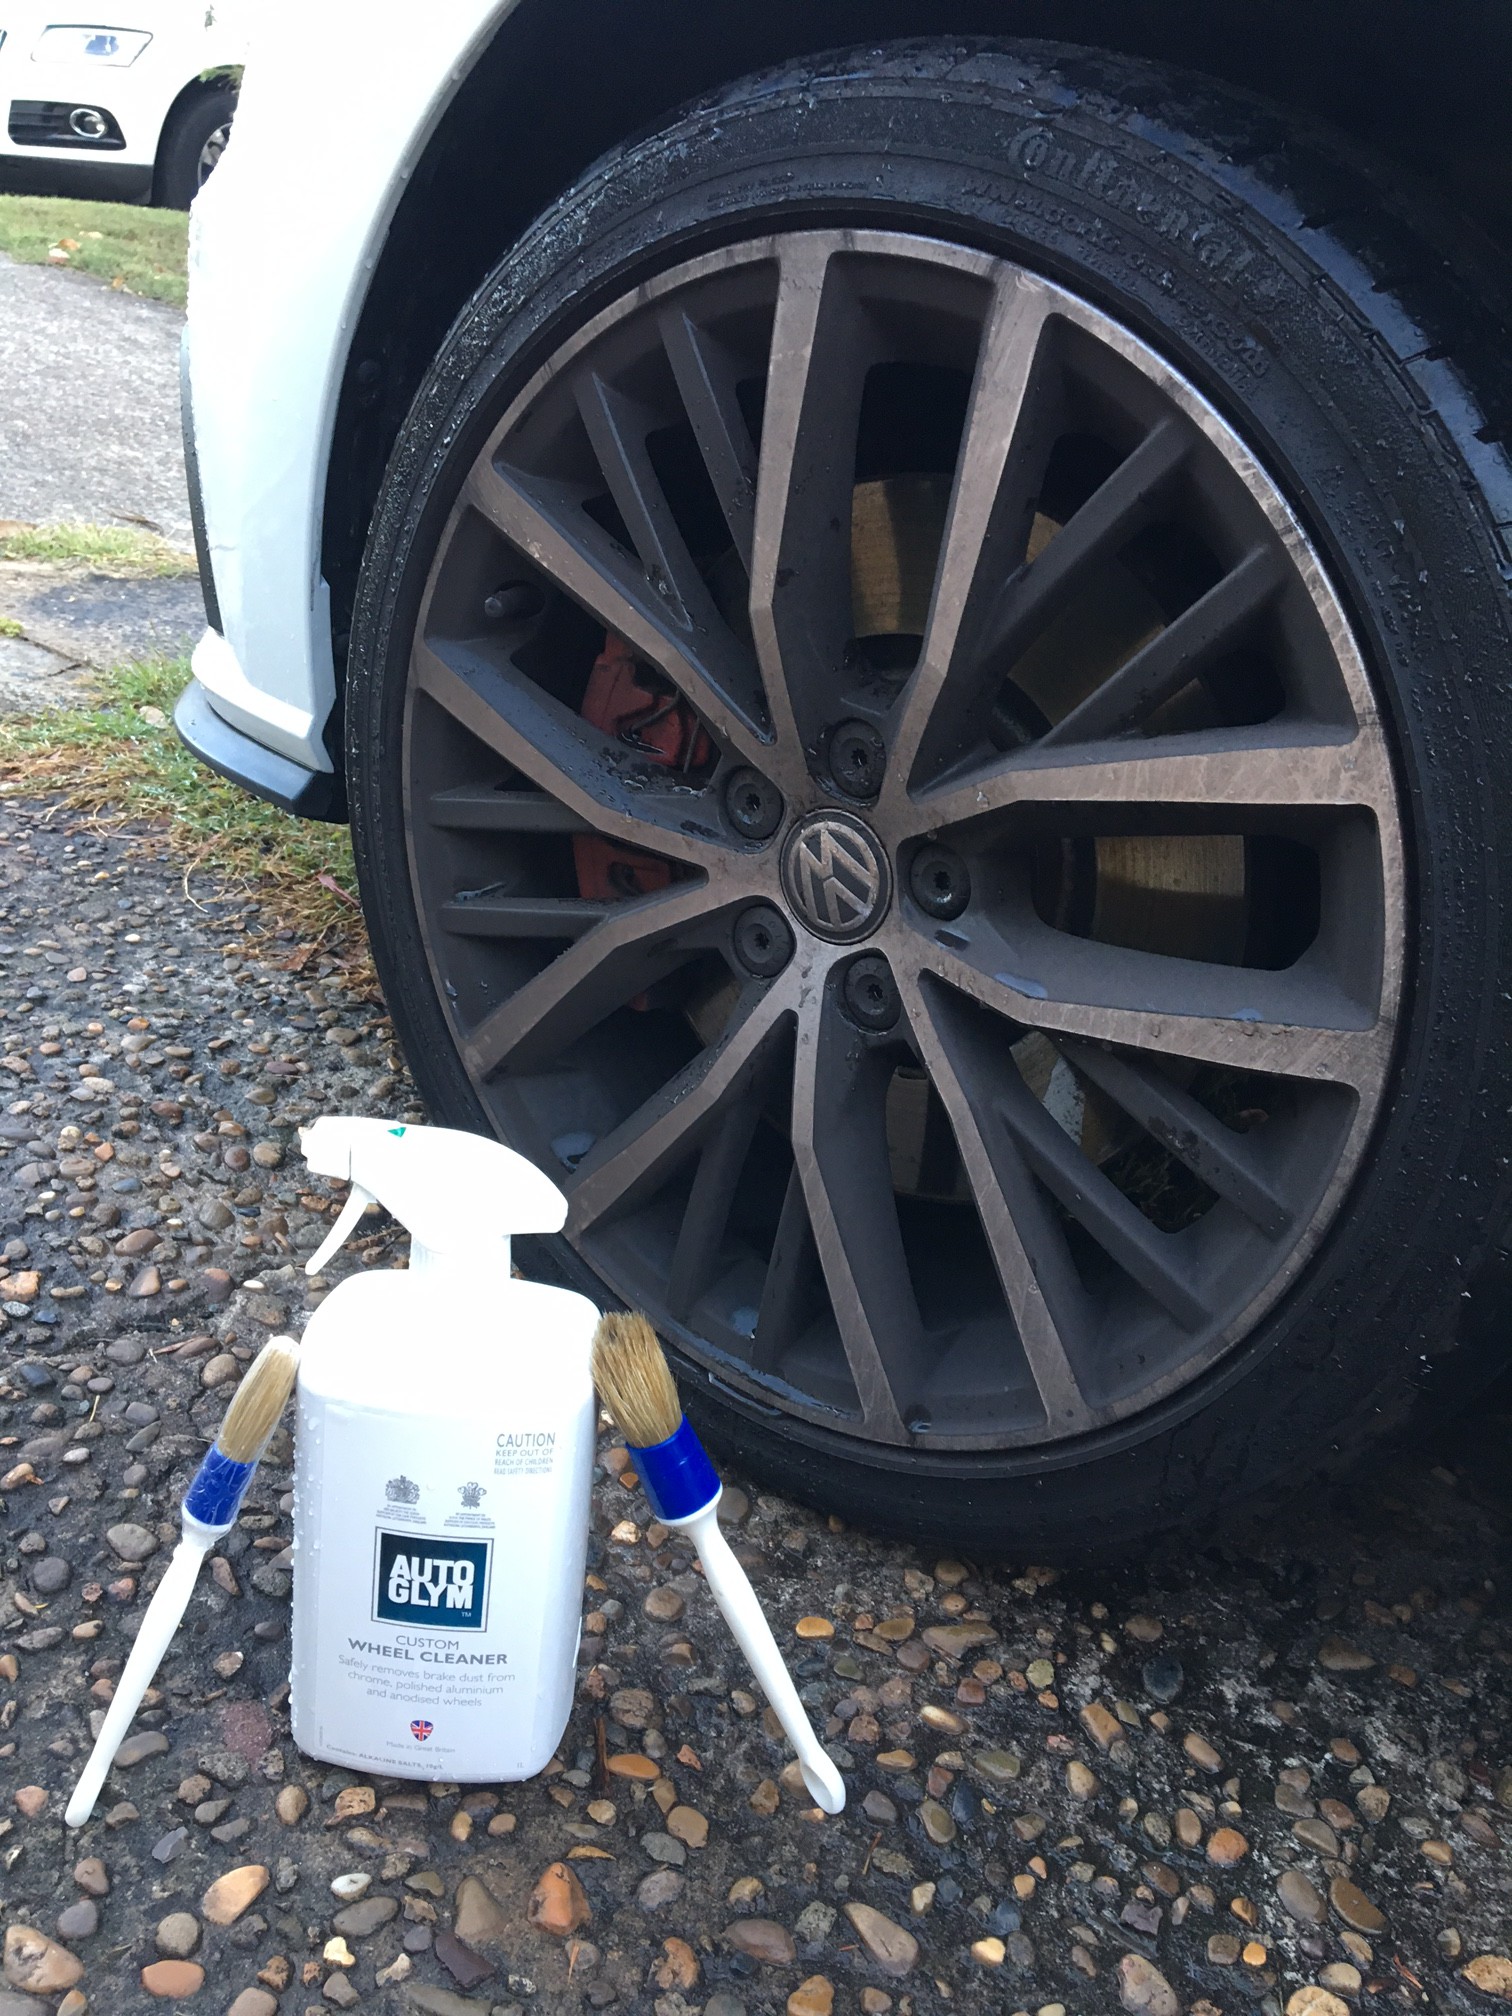
STEP 2: Once the wheel and tyre has been pre-rinsed grab a small stool and sit in front of the wheel with the correct wheel cleaner. This stops the urge to move around and makes it easier to clean. When you spray always start from the bottom up in a left to right and back motion. The reason for this is, if you start from the top, the product runs down the wheel. This makes it difficult to tell where the wheel has been sprayed correctly and not run off as well as wasting product. If the tyre is especially dirty then you can spray the tyre as well.
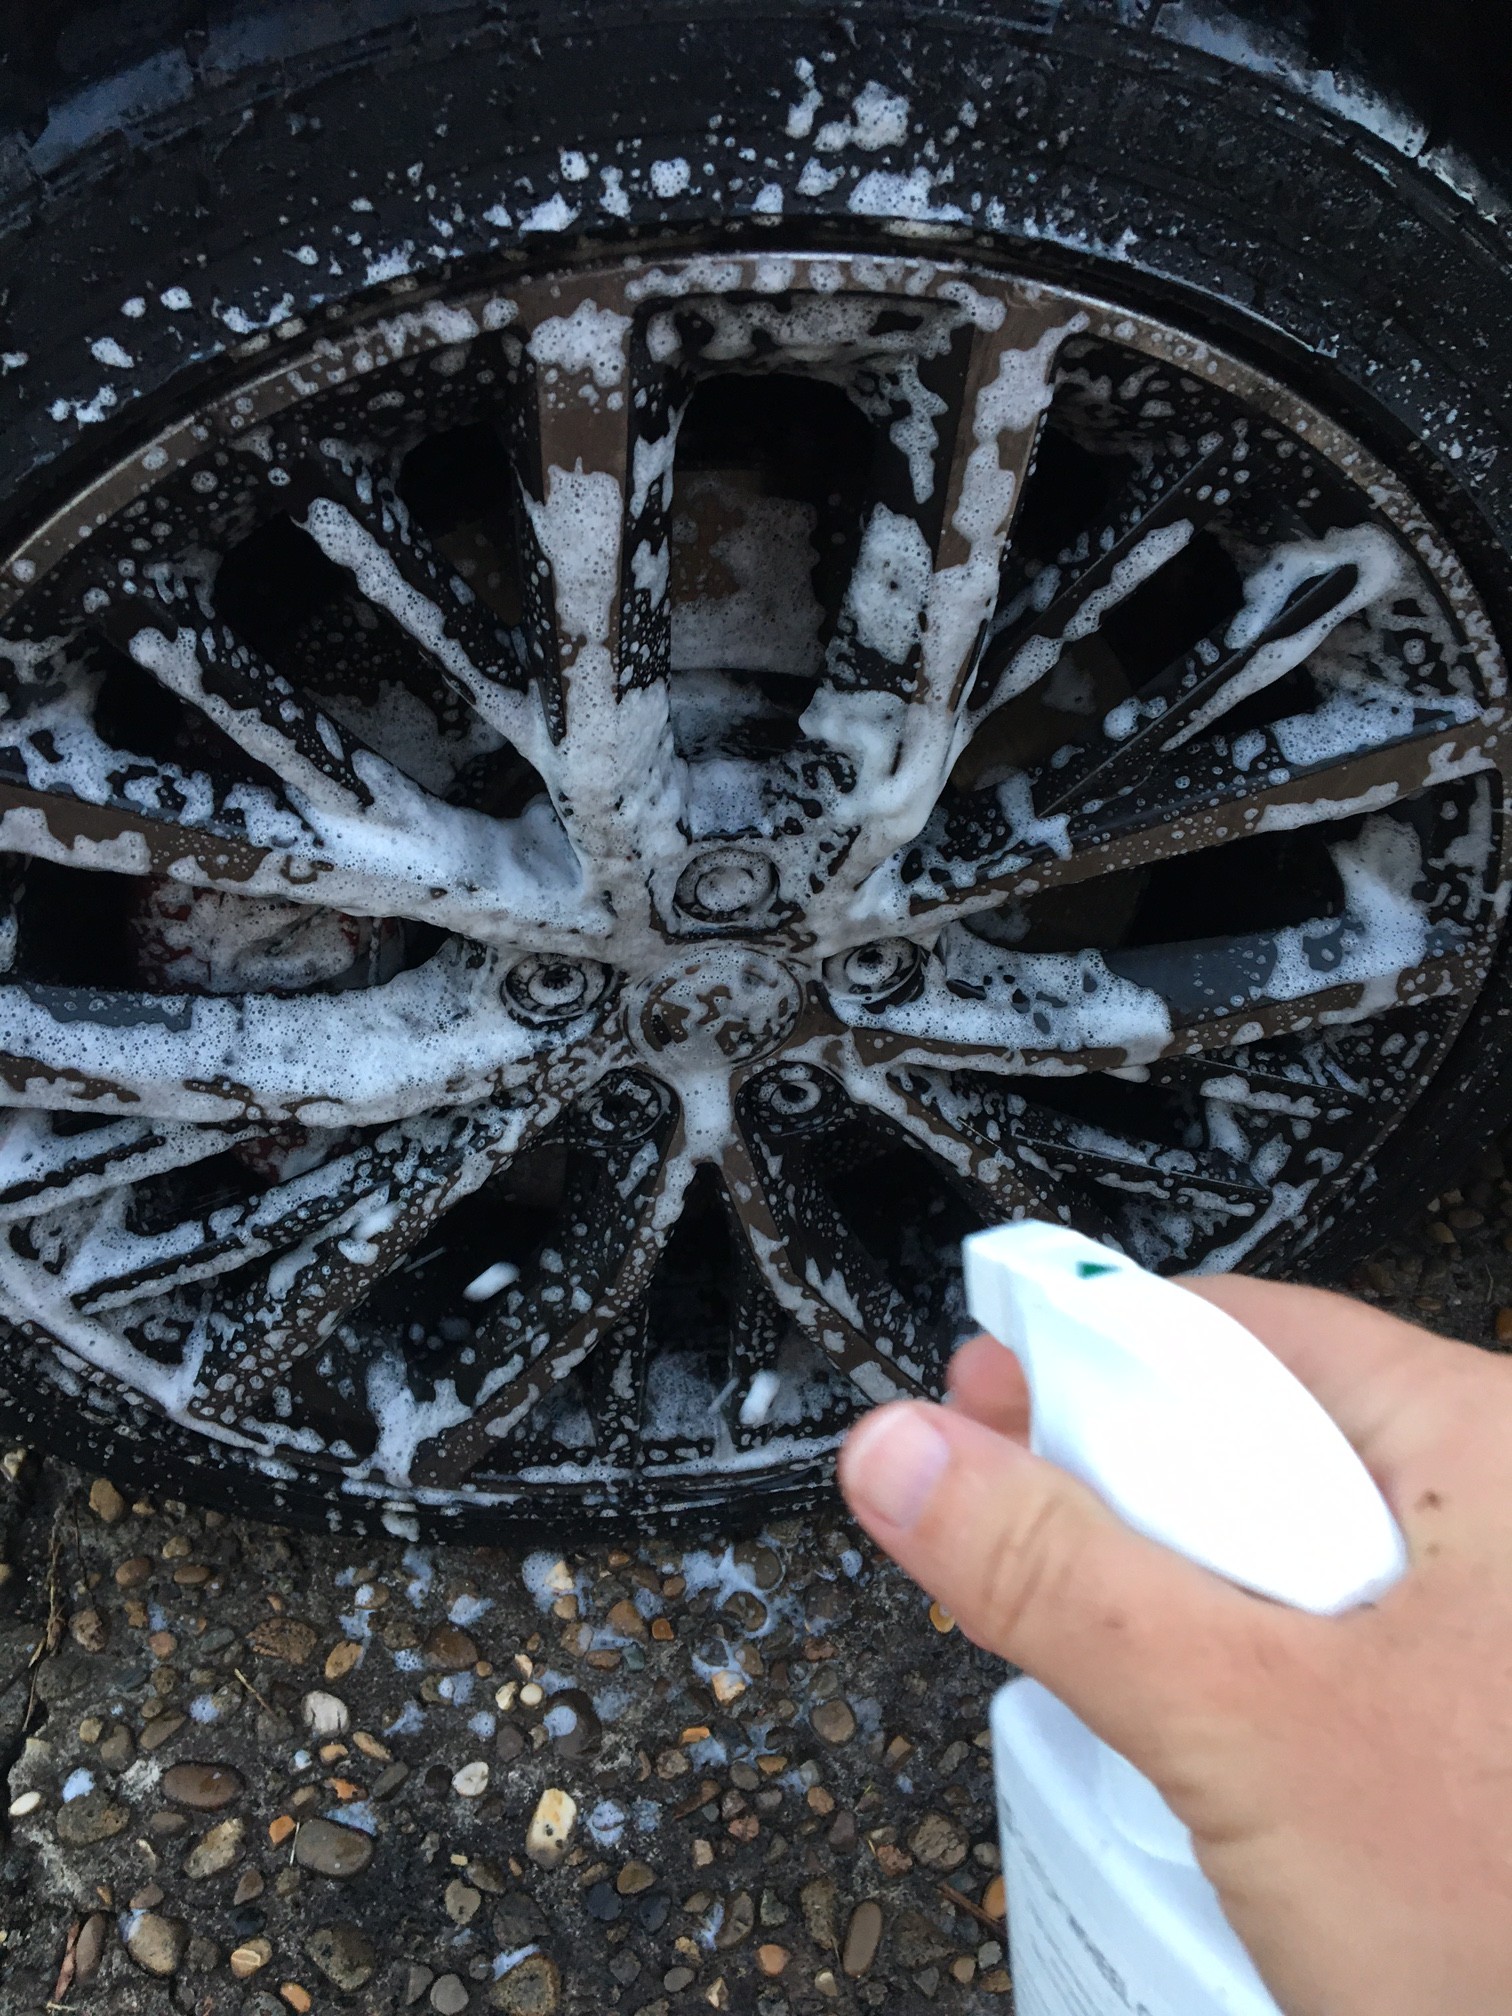
Painted brake callipers can be tackled with Custom Wheel Cleaner safely and the wheel brush to safely agitate.

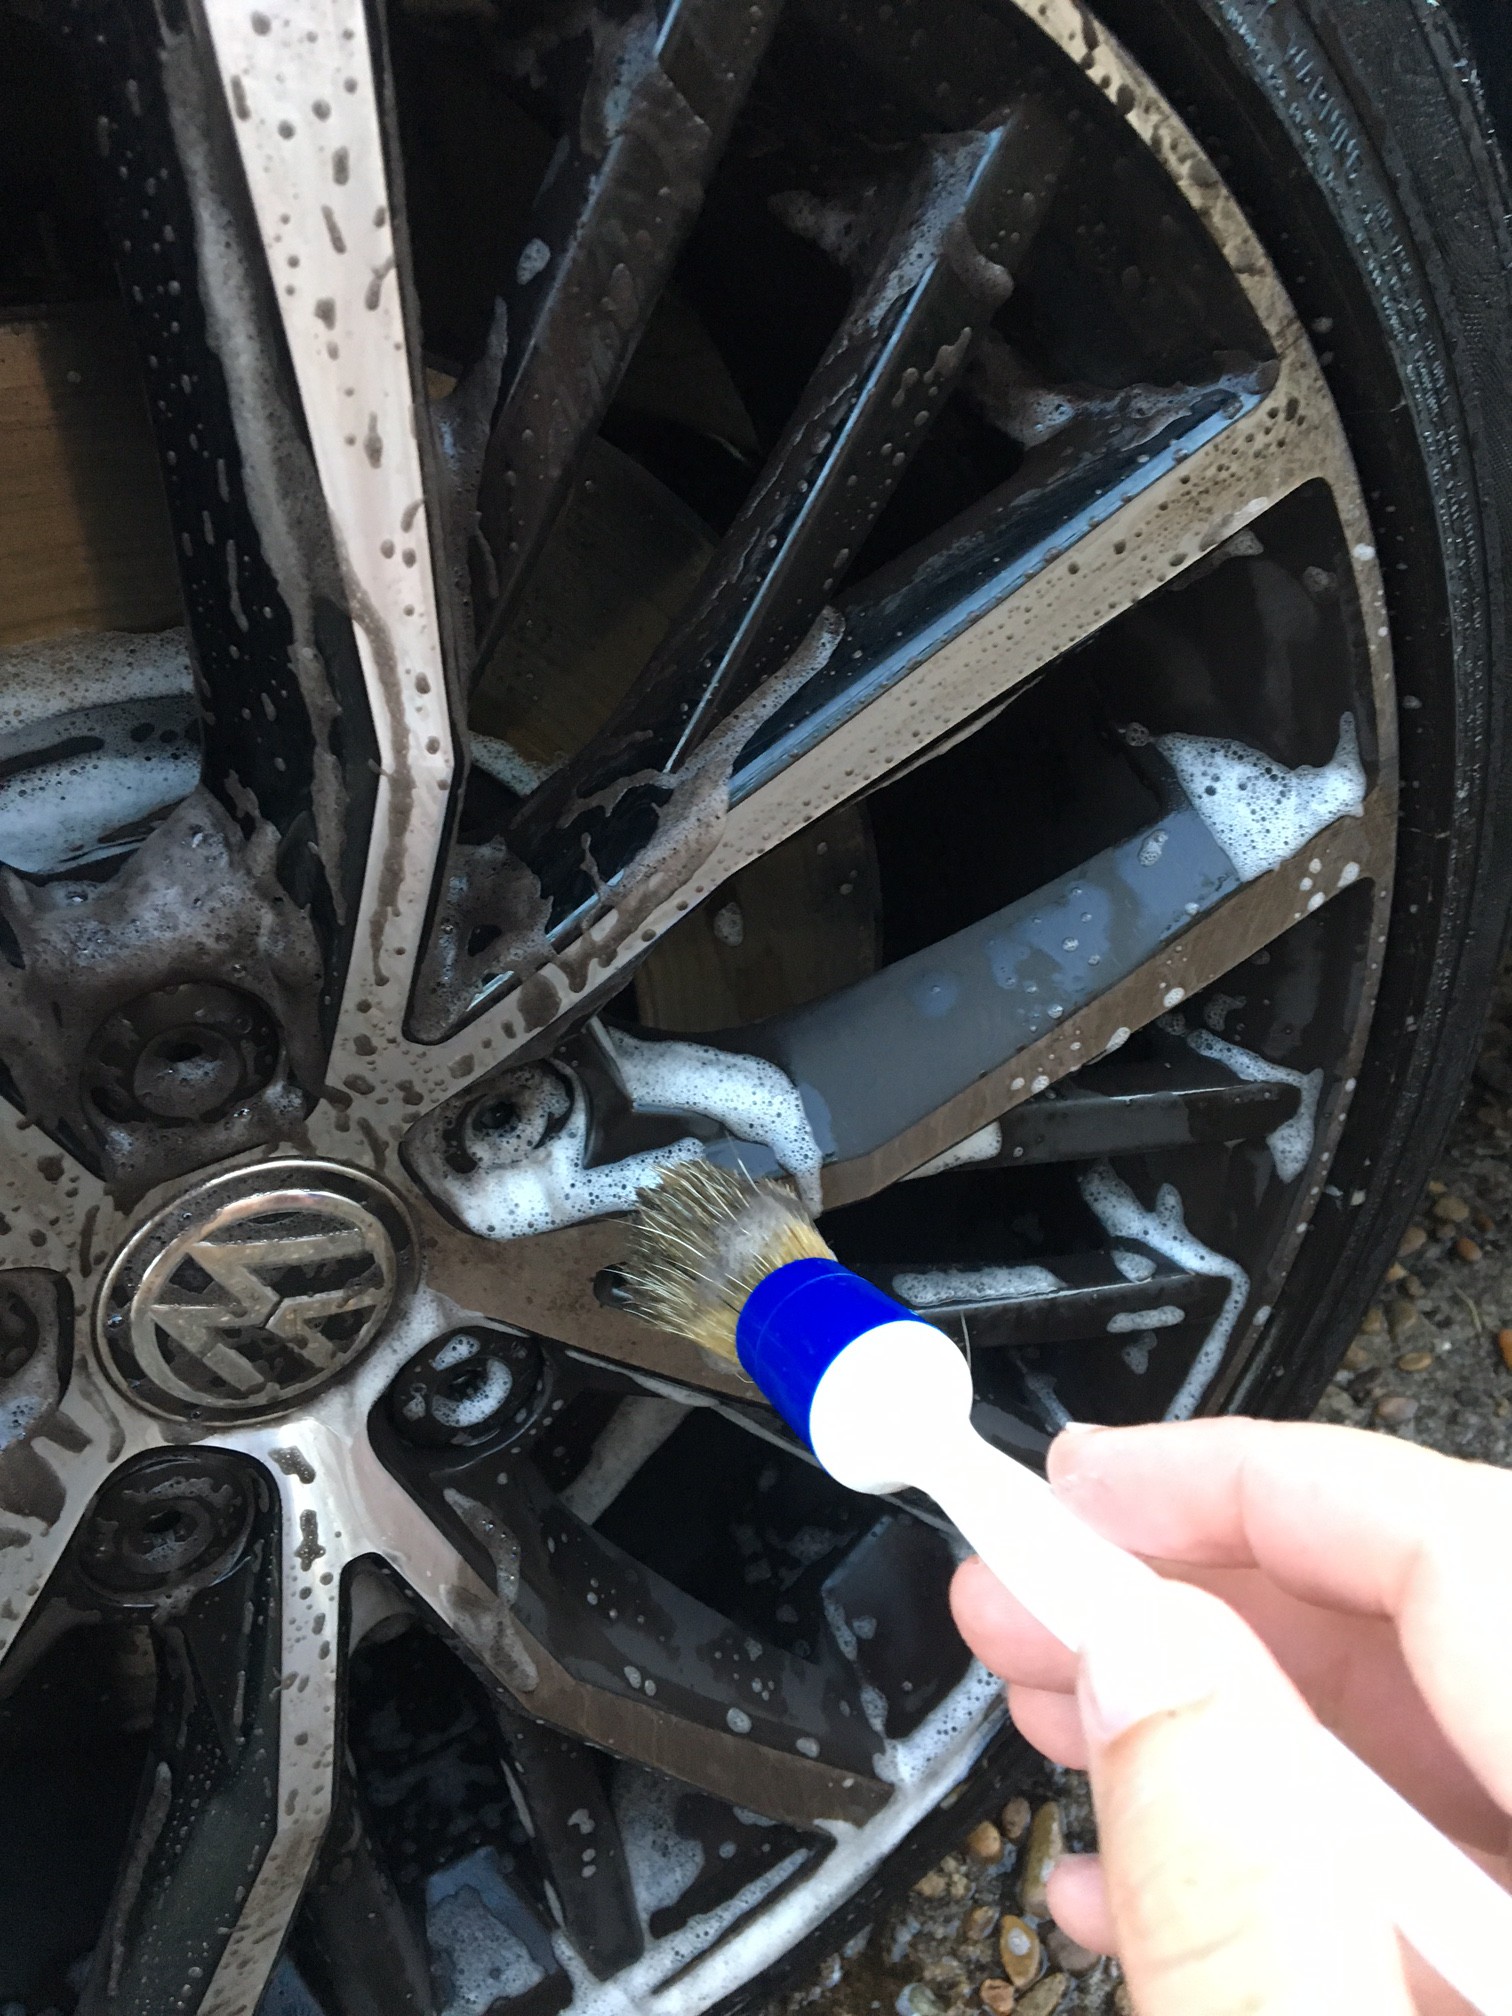
STEP 3: Once the wheel is covered with wheel cleaner, grab the wheel brush and gently agitate around the hub including inside the lugs. Once you have covered the hub, pick a spoke and clean the spoke working towards the rim. As we have identified the faster rotation of the rim versus the hub makes the rim susceptible to more contaminants. Once the rim section has been done move onto the next spoke and repeat around. By selecting the spokes on the top half of the wheel first you ensure product has not had time to run down the wheel to the bottom.
When all the spokes and rim sections have been agitated then go around the wheel face including the valve stem. The valve stem is important as when checking tyre pressure later you don’t want to get dirty fingers.
This type of clean covers most washes however doesn’t include the barrel of the wheel. If you are moving onto the barrel then it’s advised to rinse the sections already cleaned ensuring the wheel cleaner and dirt is removed first.
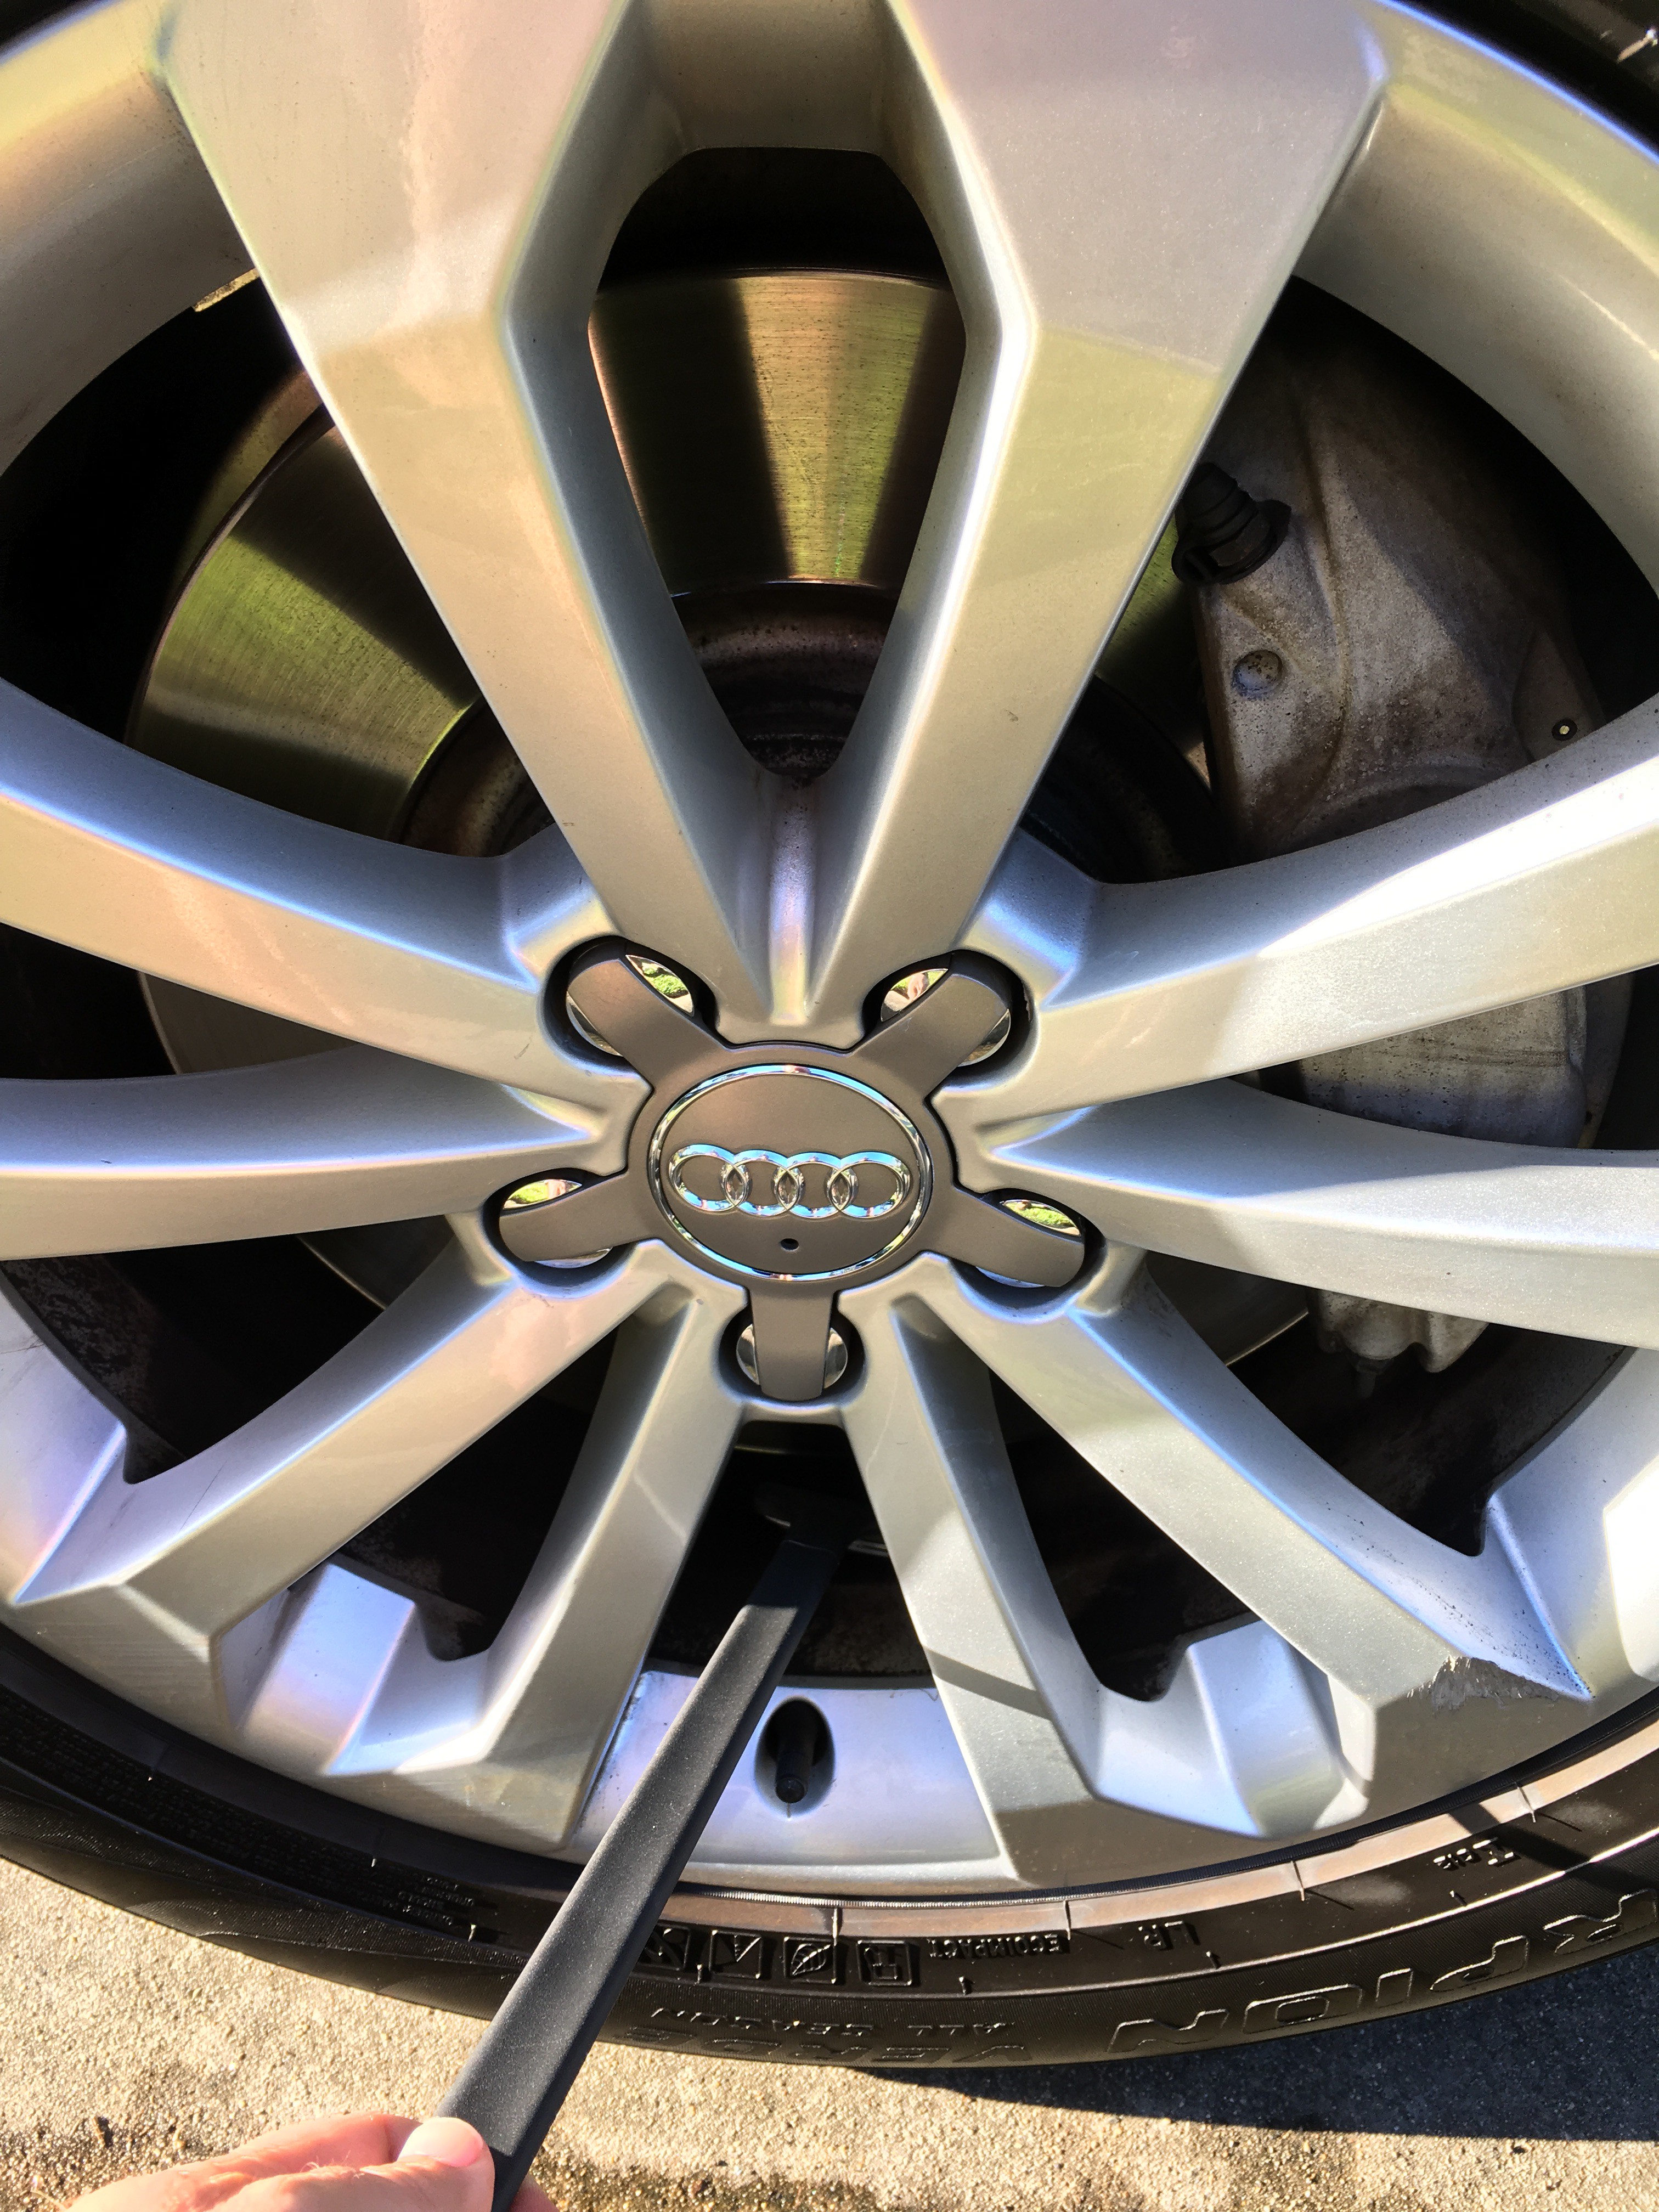
A long-handled brush is essential. Autoglym’s wheel brushes are designed not to scratch the wheel but have bristles strong enough to agitate fully. As the wheel cleaner softens and lifts the dirt the wheel will start to look even more dirty with brush swirls in the agitated cleaner.
STEP 4: Stand back and rinse the wheel fully. A little tip for spraying is angle the gun at 45 degrees to avoid splash back and work from a left to right and back motion from the bottom of the wheel up. The reason for rinsing from the bottom is to ensure you don’t get streaks down the wheel as you rinse. The only water to run down the wheel is clean water. Then do a few circles to rinse out the rim and then concentrate on the wheel nuts. A lot of cleaner and dirt can find its way into the crevices in and around the wheel nuts so it’s essential to ensure they are rinsed fully. One of the reasons people suffer wheel and hub corrosion is not rinsing an aggressive wheel cleaner off completely. You can also rinse the wheel arch.
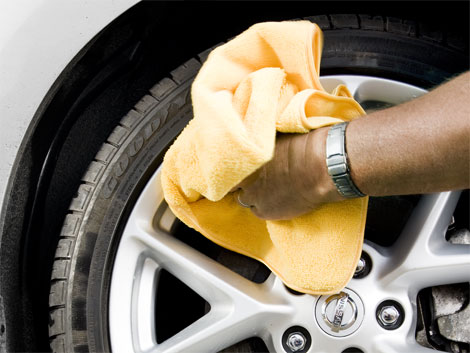
STEP 5: Repeat for each wheel, one wheel at a time. Once you have done all the wheels it’s usually advised to have a dedicated wheel chamois or microfiber to dry the wheel. Never use the same one on the paint you use on the wheel. Wheels are tricky to get dry and can trap water in small crevices or flat spots around the wheel that may be missed when drying. If you are applying a protective coating after, it’s sometimes advised to let your car stand overnight if possible to dry fully and then apply the protective spray or wax the next day.
STEP 6: The Extra Mile
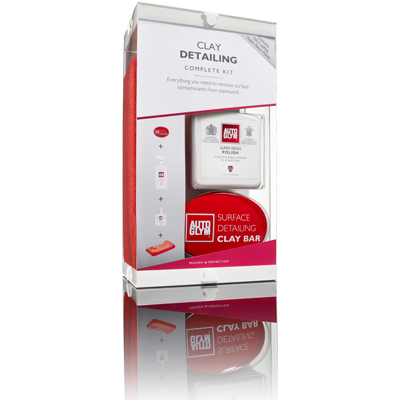
For those that want to go an extra step then a Clay Bar kit can be used on your wheels. Apply the Rapid Detailer with the small piece of Clay Bar as you would with a panel and clay your wheels. This is a great method for painted wheels. We will go into further dressings later in the week.
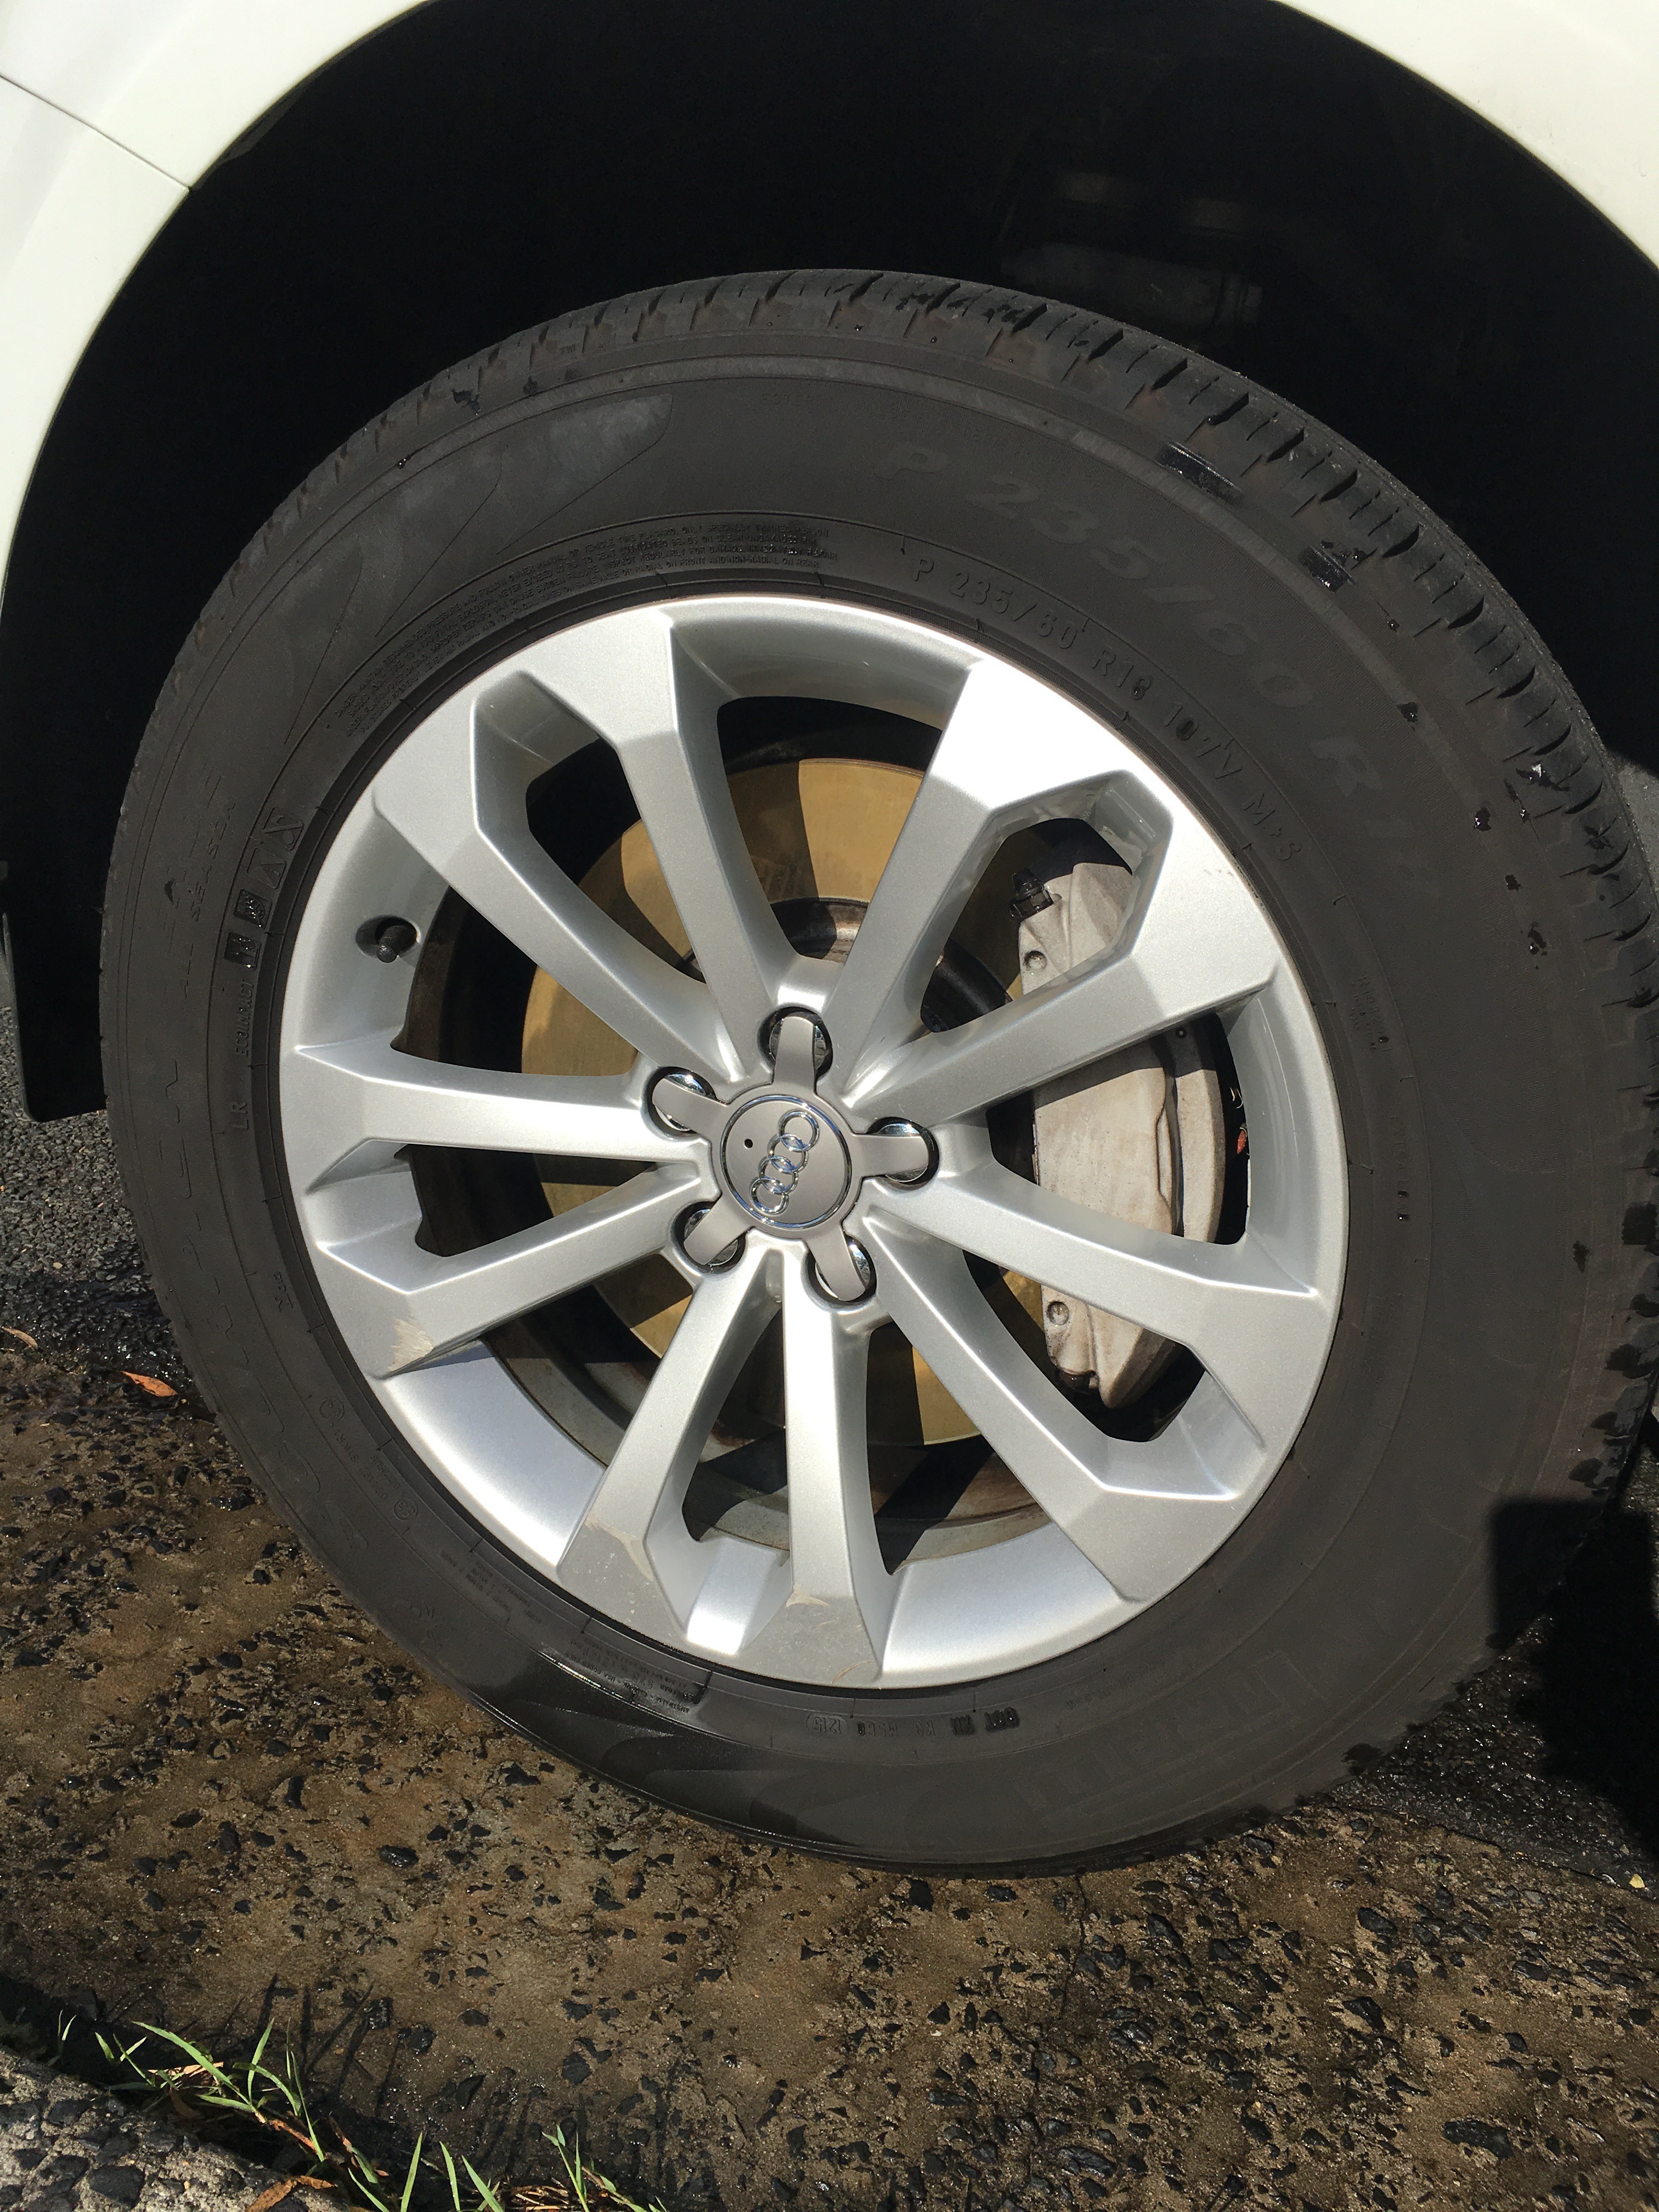
FINAL CHECK: The last thing to do before walking away is to roll the car forward or backwards safely a half a wheel turn once all four wheels have been done. This ensures any dirt left on the underside of a spoke or hub not seen in the original clean is now visible. These are usually small pieces that can be removed with a quick spot clean.
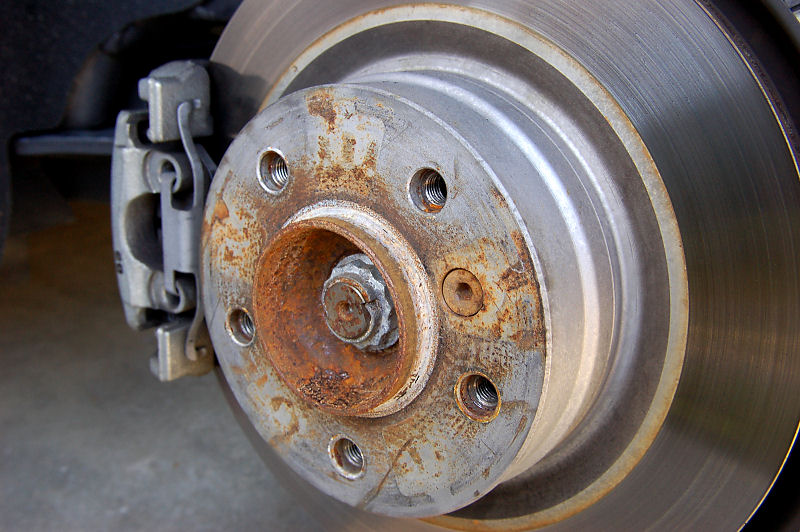
If you have not driven the vehicle for some time then you may see rust on the disks and also sometimes after applying wheel cleaner. With disks being bare metal they are prone to flash rusting. Cleaning the disk will only expose the disk to the elements again and make it rust so don’t worry about it. The quickest way to remove this is to simply drive the car and the braking action will remove it. Coating and applying chemicals directly to the disk is never advised for safe braking reasons.
VISUAL QUE’S IF YOU GET IT WRONG
If after all this the wrong product was used or you let the product dry then the wheel will either look like it needs another clean or will be hazy from the product.
If you’re lucky the product has probably just dried on the surface. Wetting / washing and wiping it is often enough to rectify that and start again.
The trouble starts if you’ve used the wrong product for the surface. Not all wheel cleaners are created equal – even if the products are acid free it doesn’t make them safe. An alkali product used the wrong way can cause more damage than the right choice acid product. In some cases, fixing the issue is probably not on the cards. Refurbing the wheel is probably the best option or try to polish out the damage on the surface. The only thing you can sometimes do is polish out the damage so prevention is always better than cure.
Other issues are corrosion of the wheel, hub and even brake calliper over time. If you have your car and wheels washed in a café style wash, try and find out what cleaners are being used on your car. Look for PH neutral shampoo’s to protect your wax coatings and ask what wheel cleaners they use.
Stick with the simple process above and you will get clean wheels safely every time.
