Here we will look at how to prepare your engine bay for washing, the best products to use, how to apply and clean, rinse safely and dress the bay afterwards.
A very common question that recently came up multiple times is how best to clean and detail an engine bay? Many people are rightfully a little scared of washing under the hood in fear of damaging something or preventing the car from starting. In reality it’s fairly easy to be safe and get some great results quickly and easily.
STEP 1 – LOCATE THE EXPOSED ELECTRONICS
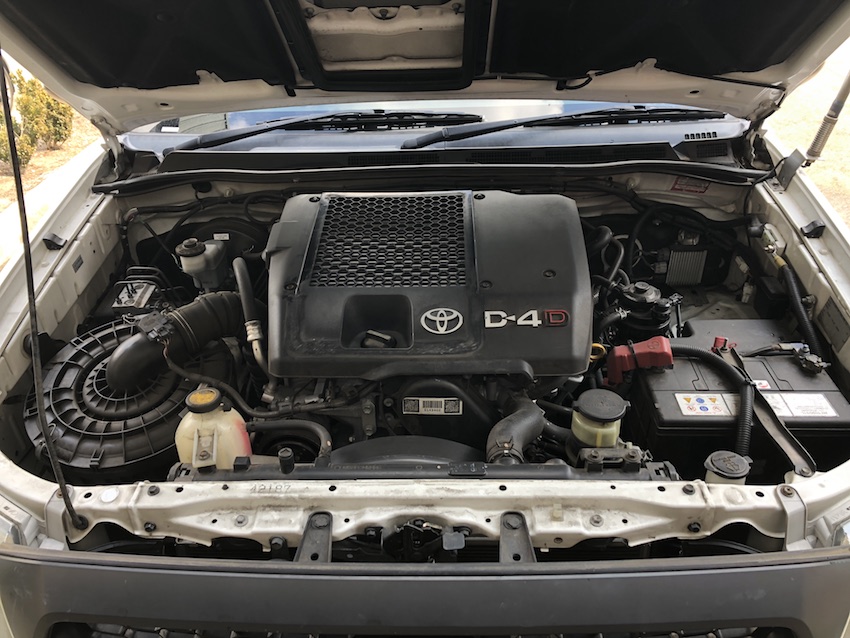
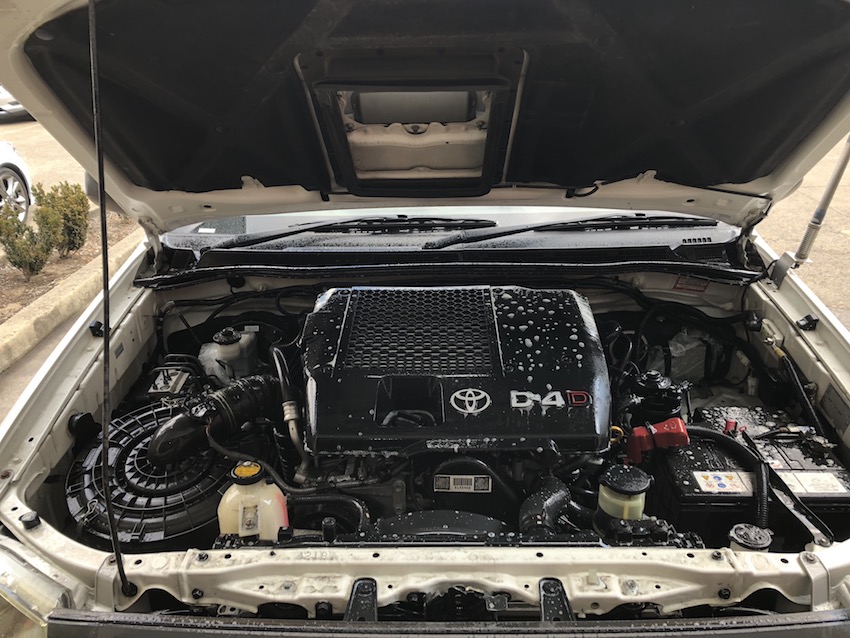
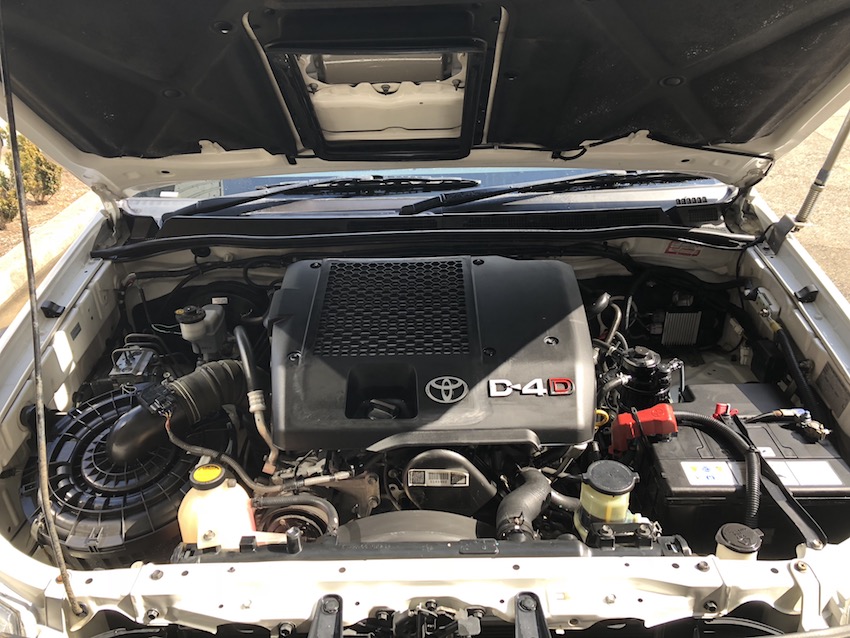
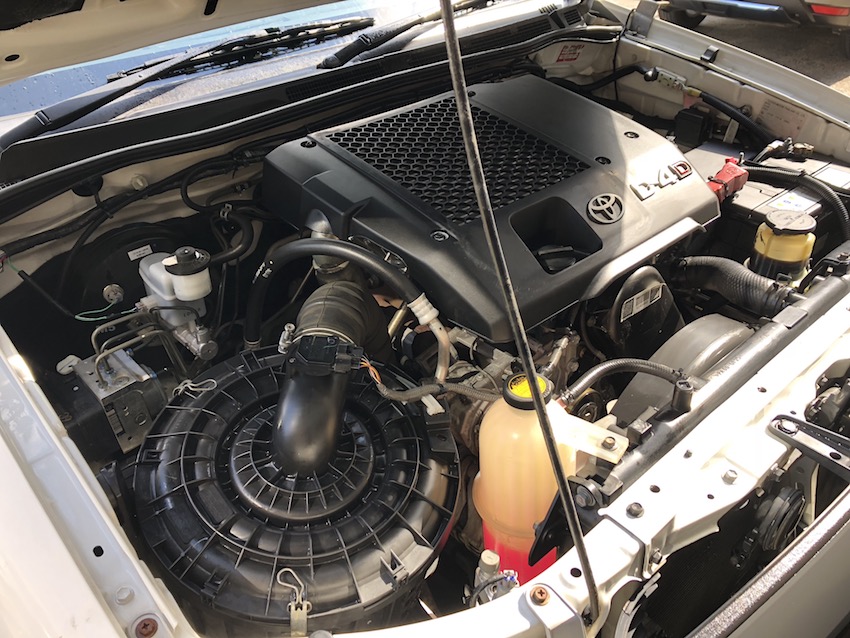
Our vehicle we worked on was our 10 year old workhorse Hilux ute. This thing doesn’t see much love so a perfect example to clean up.
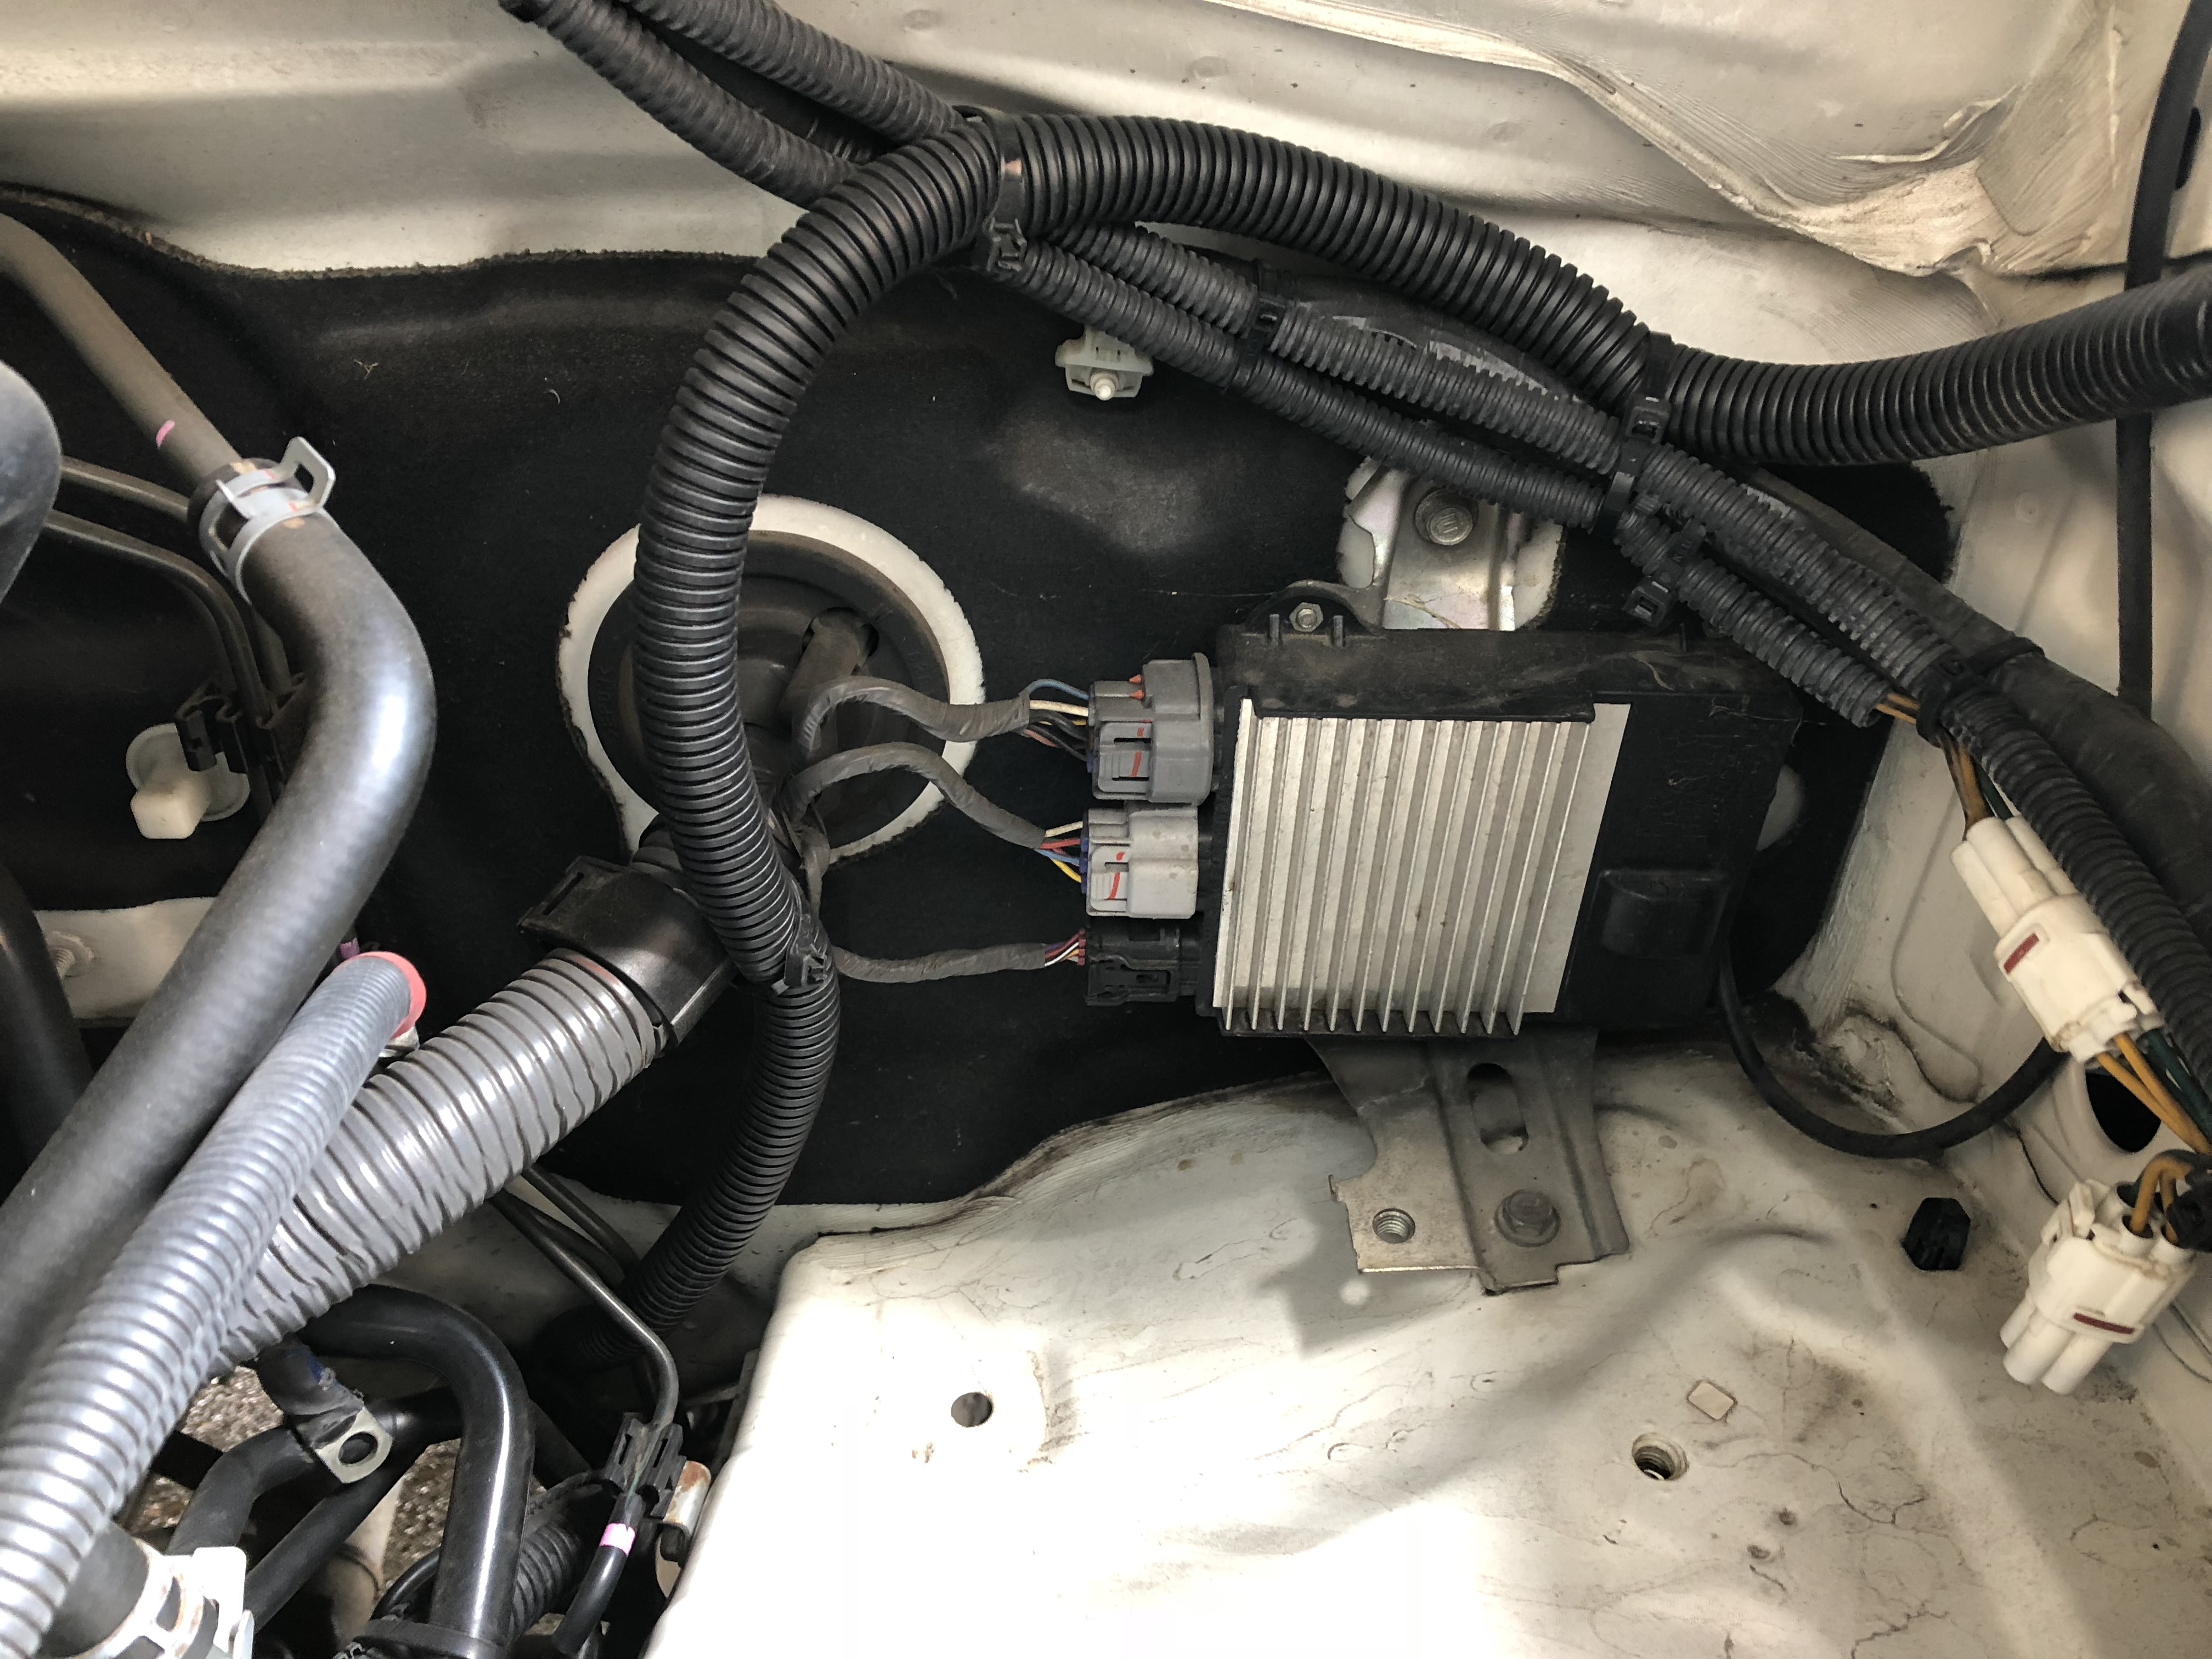
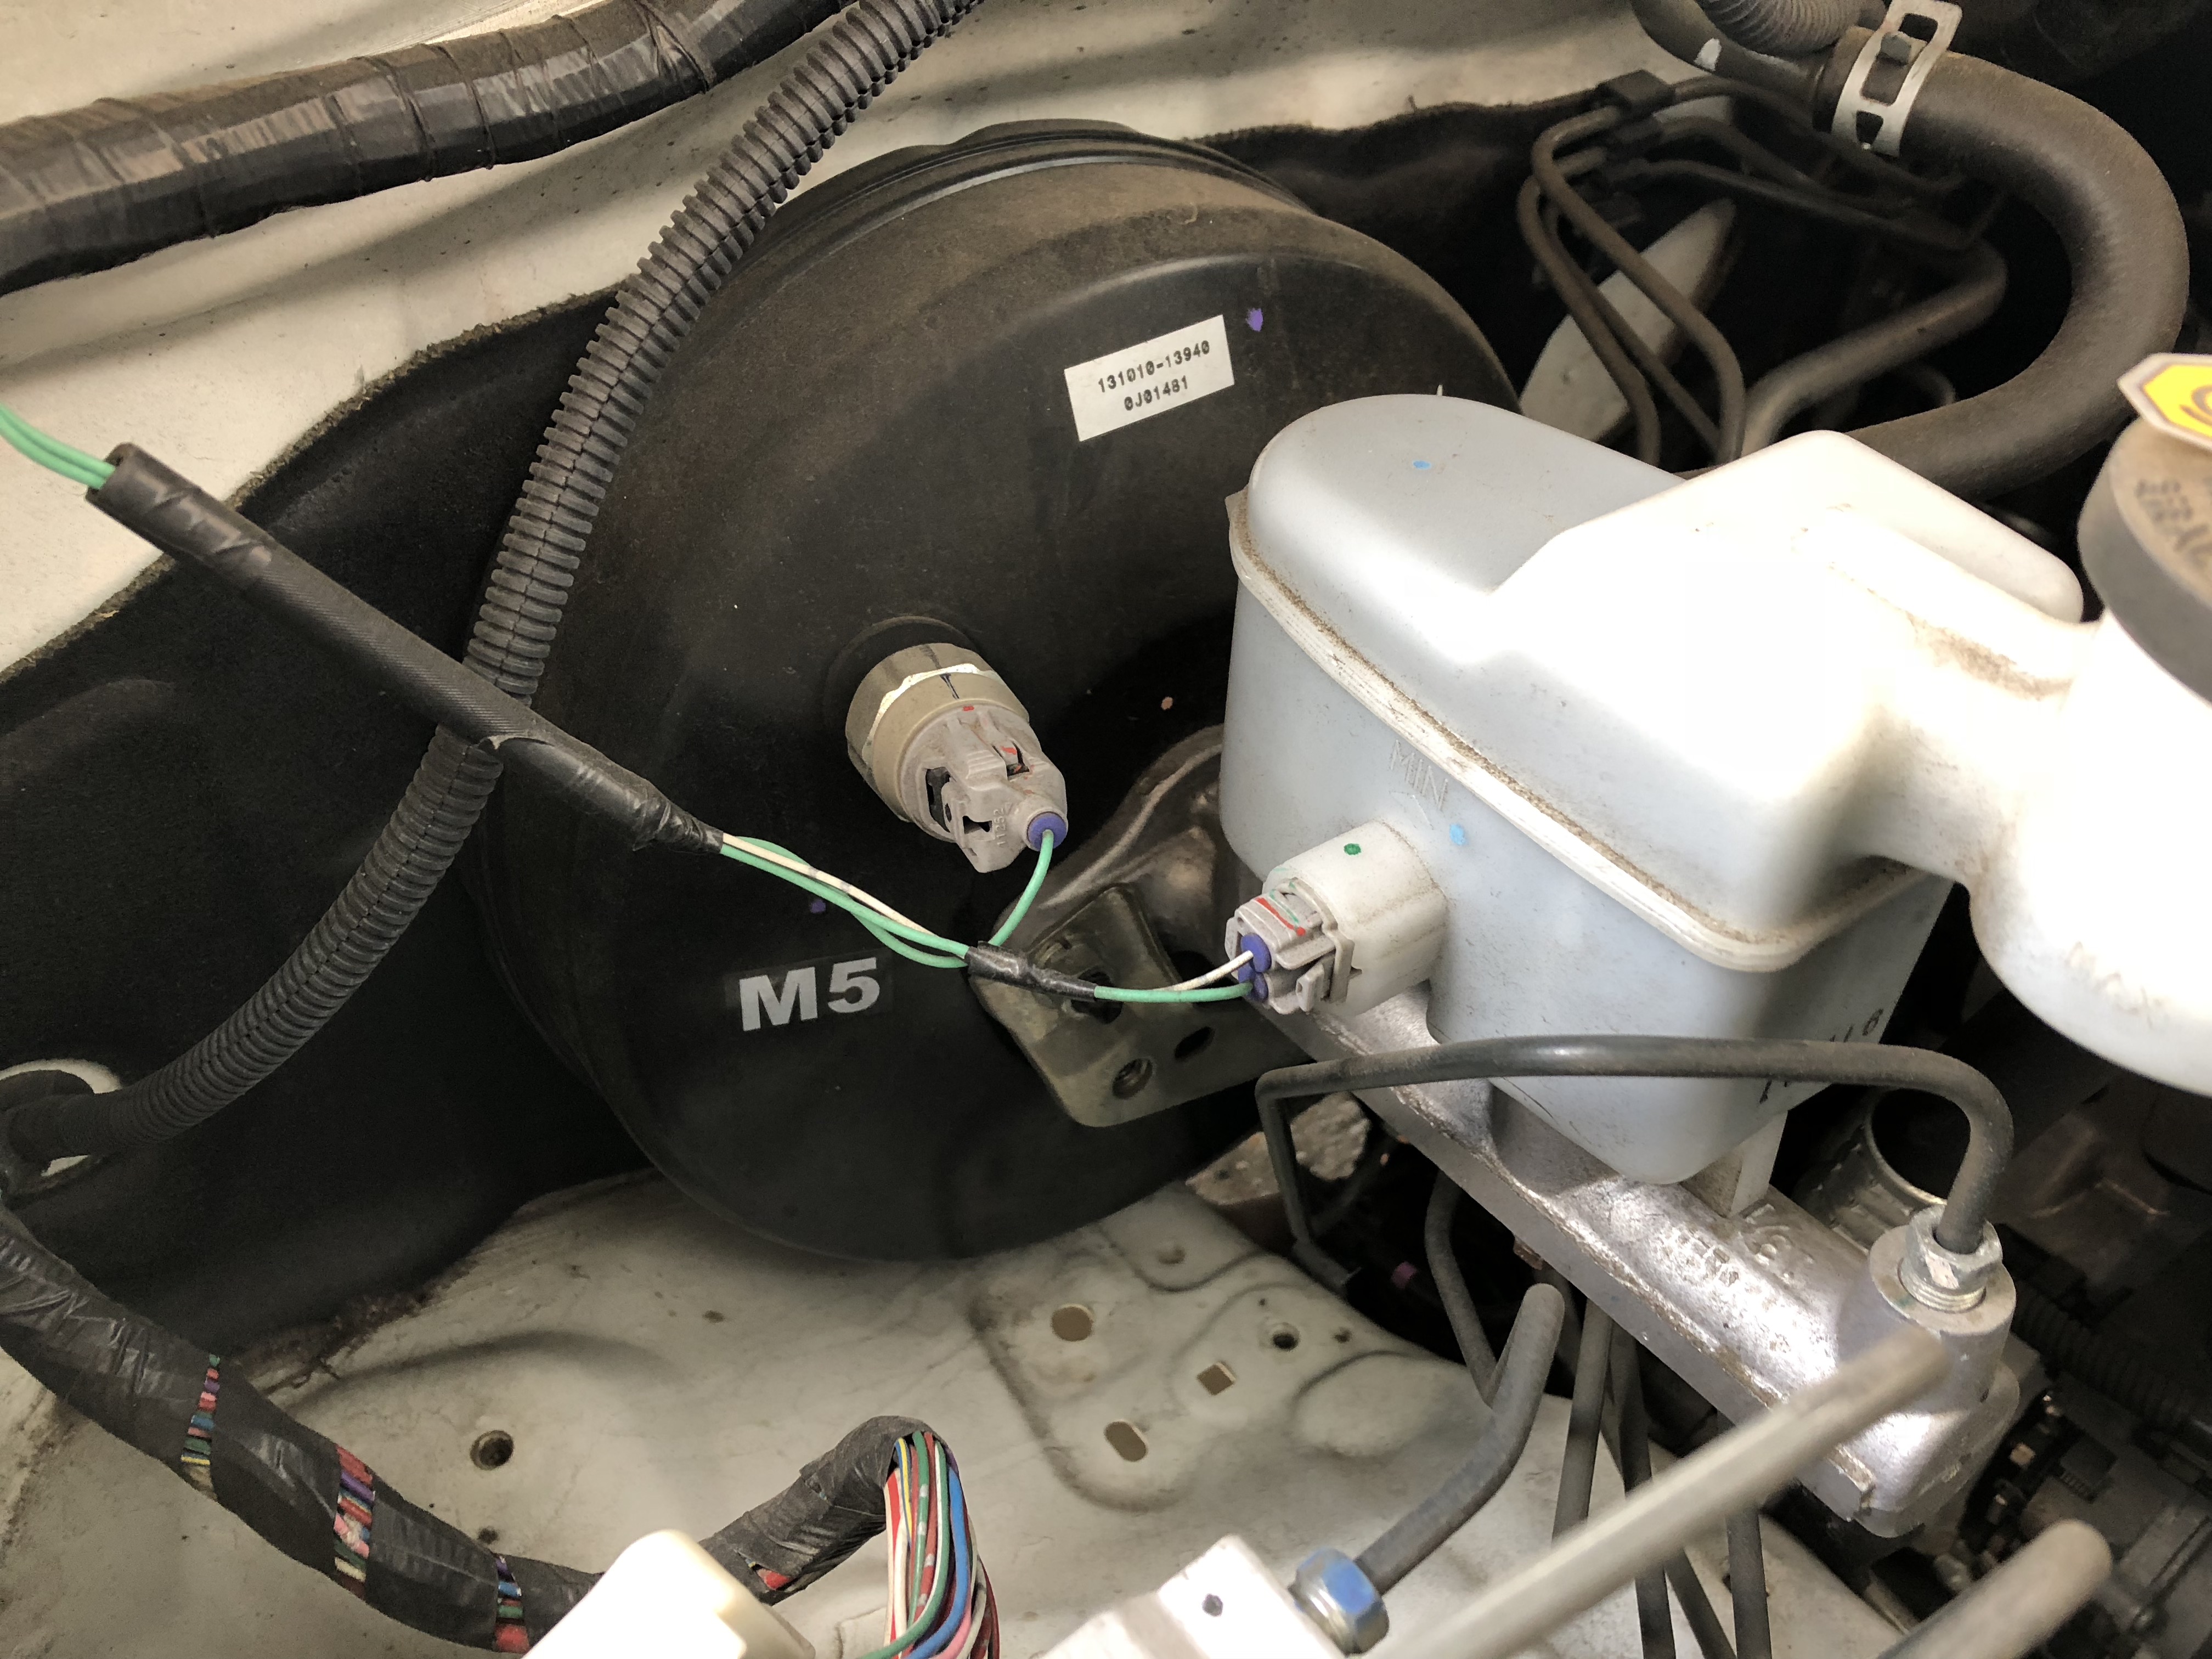
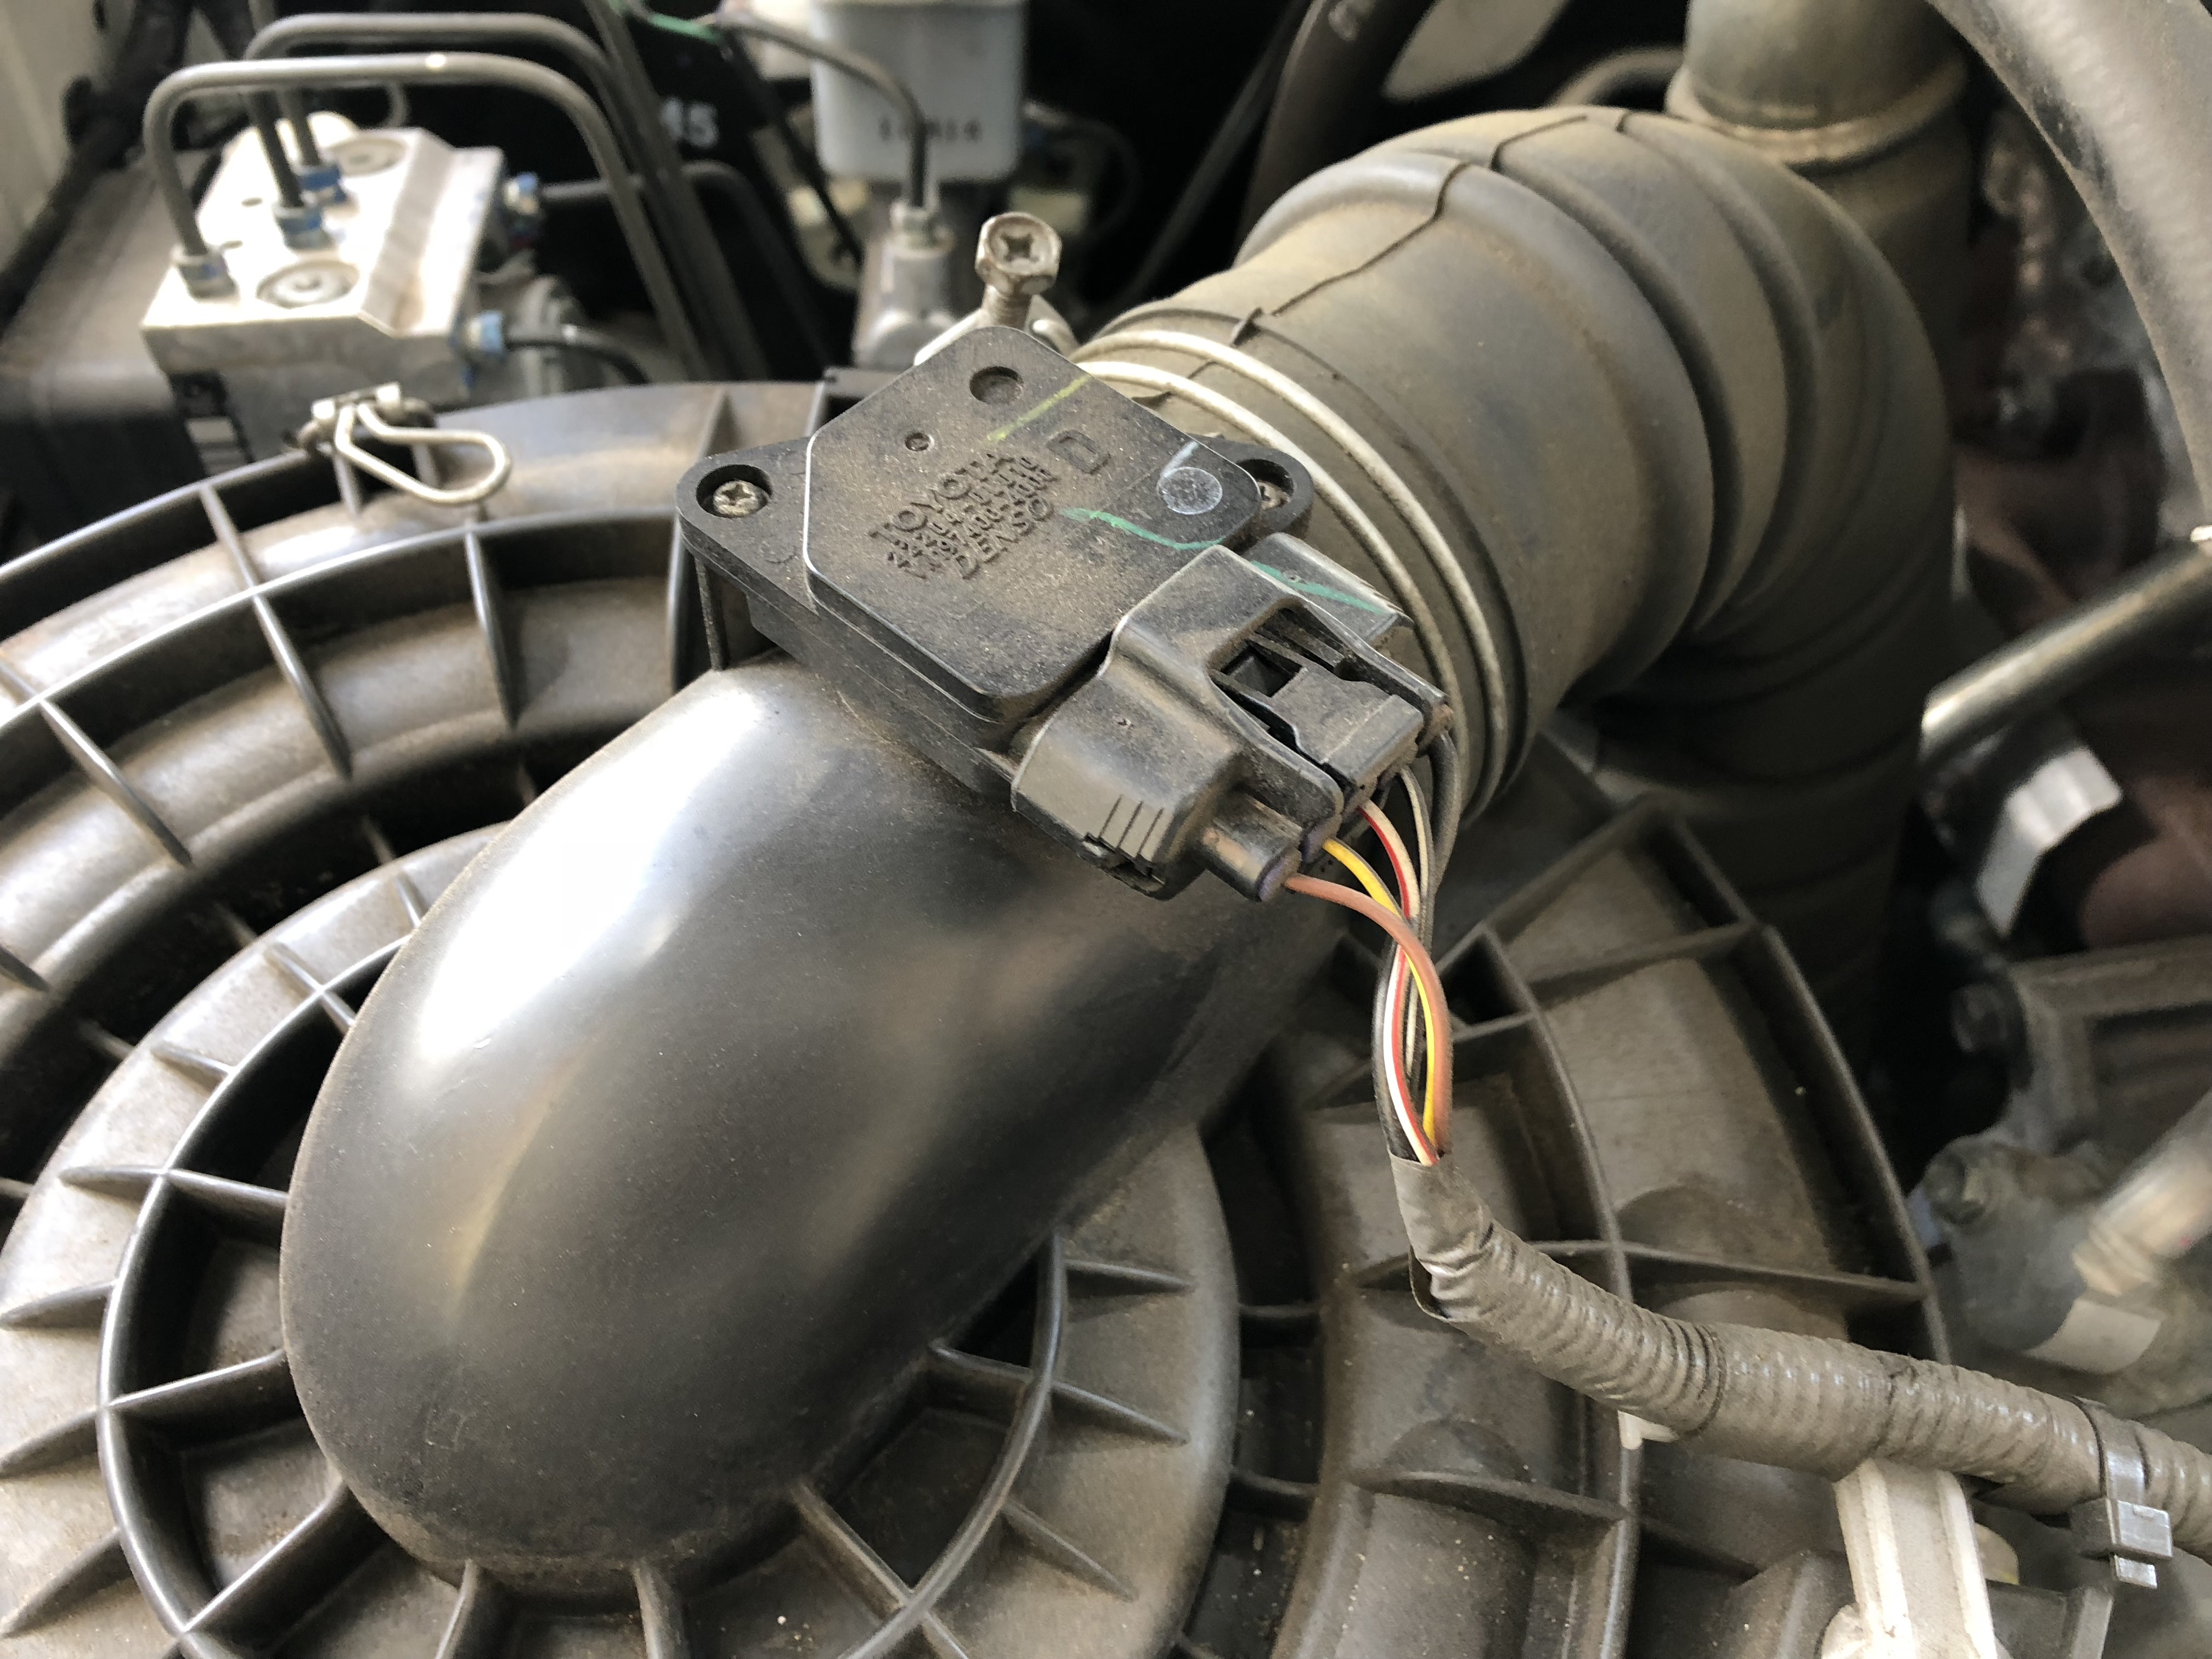
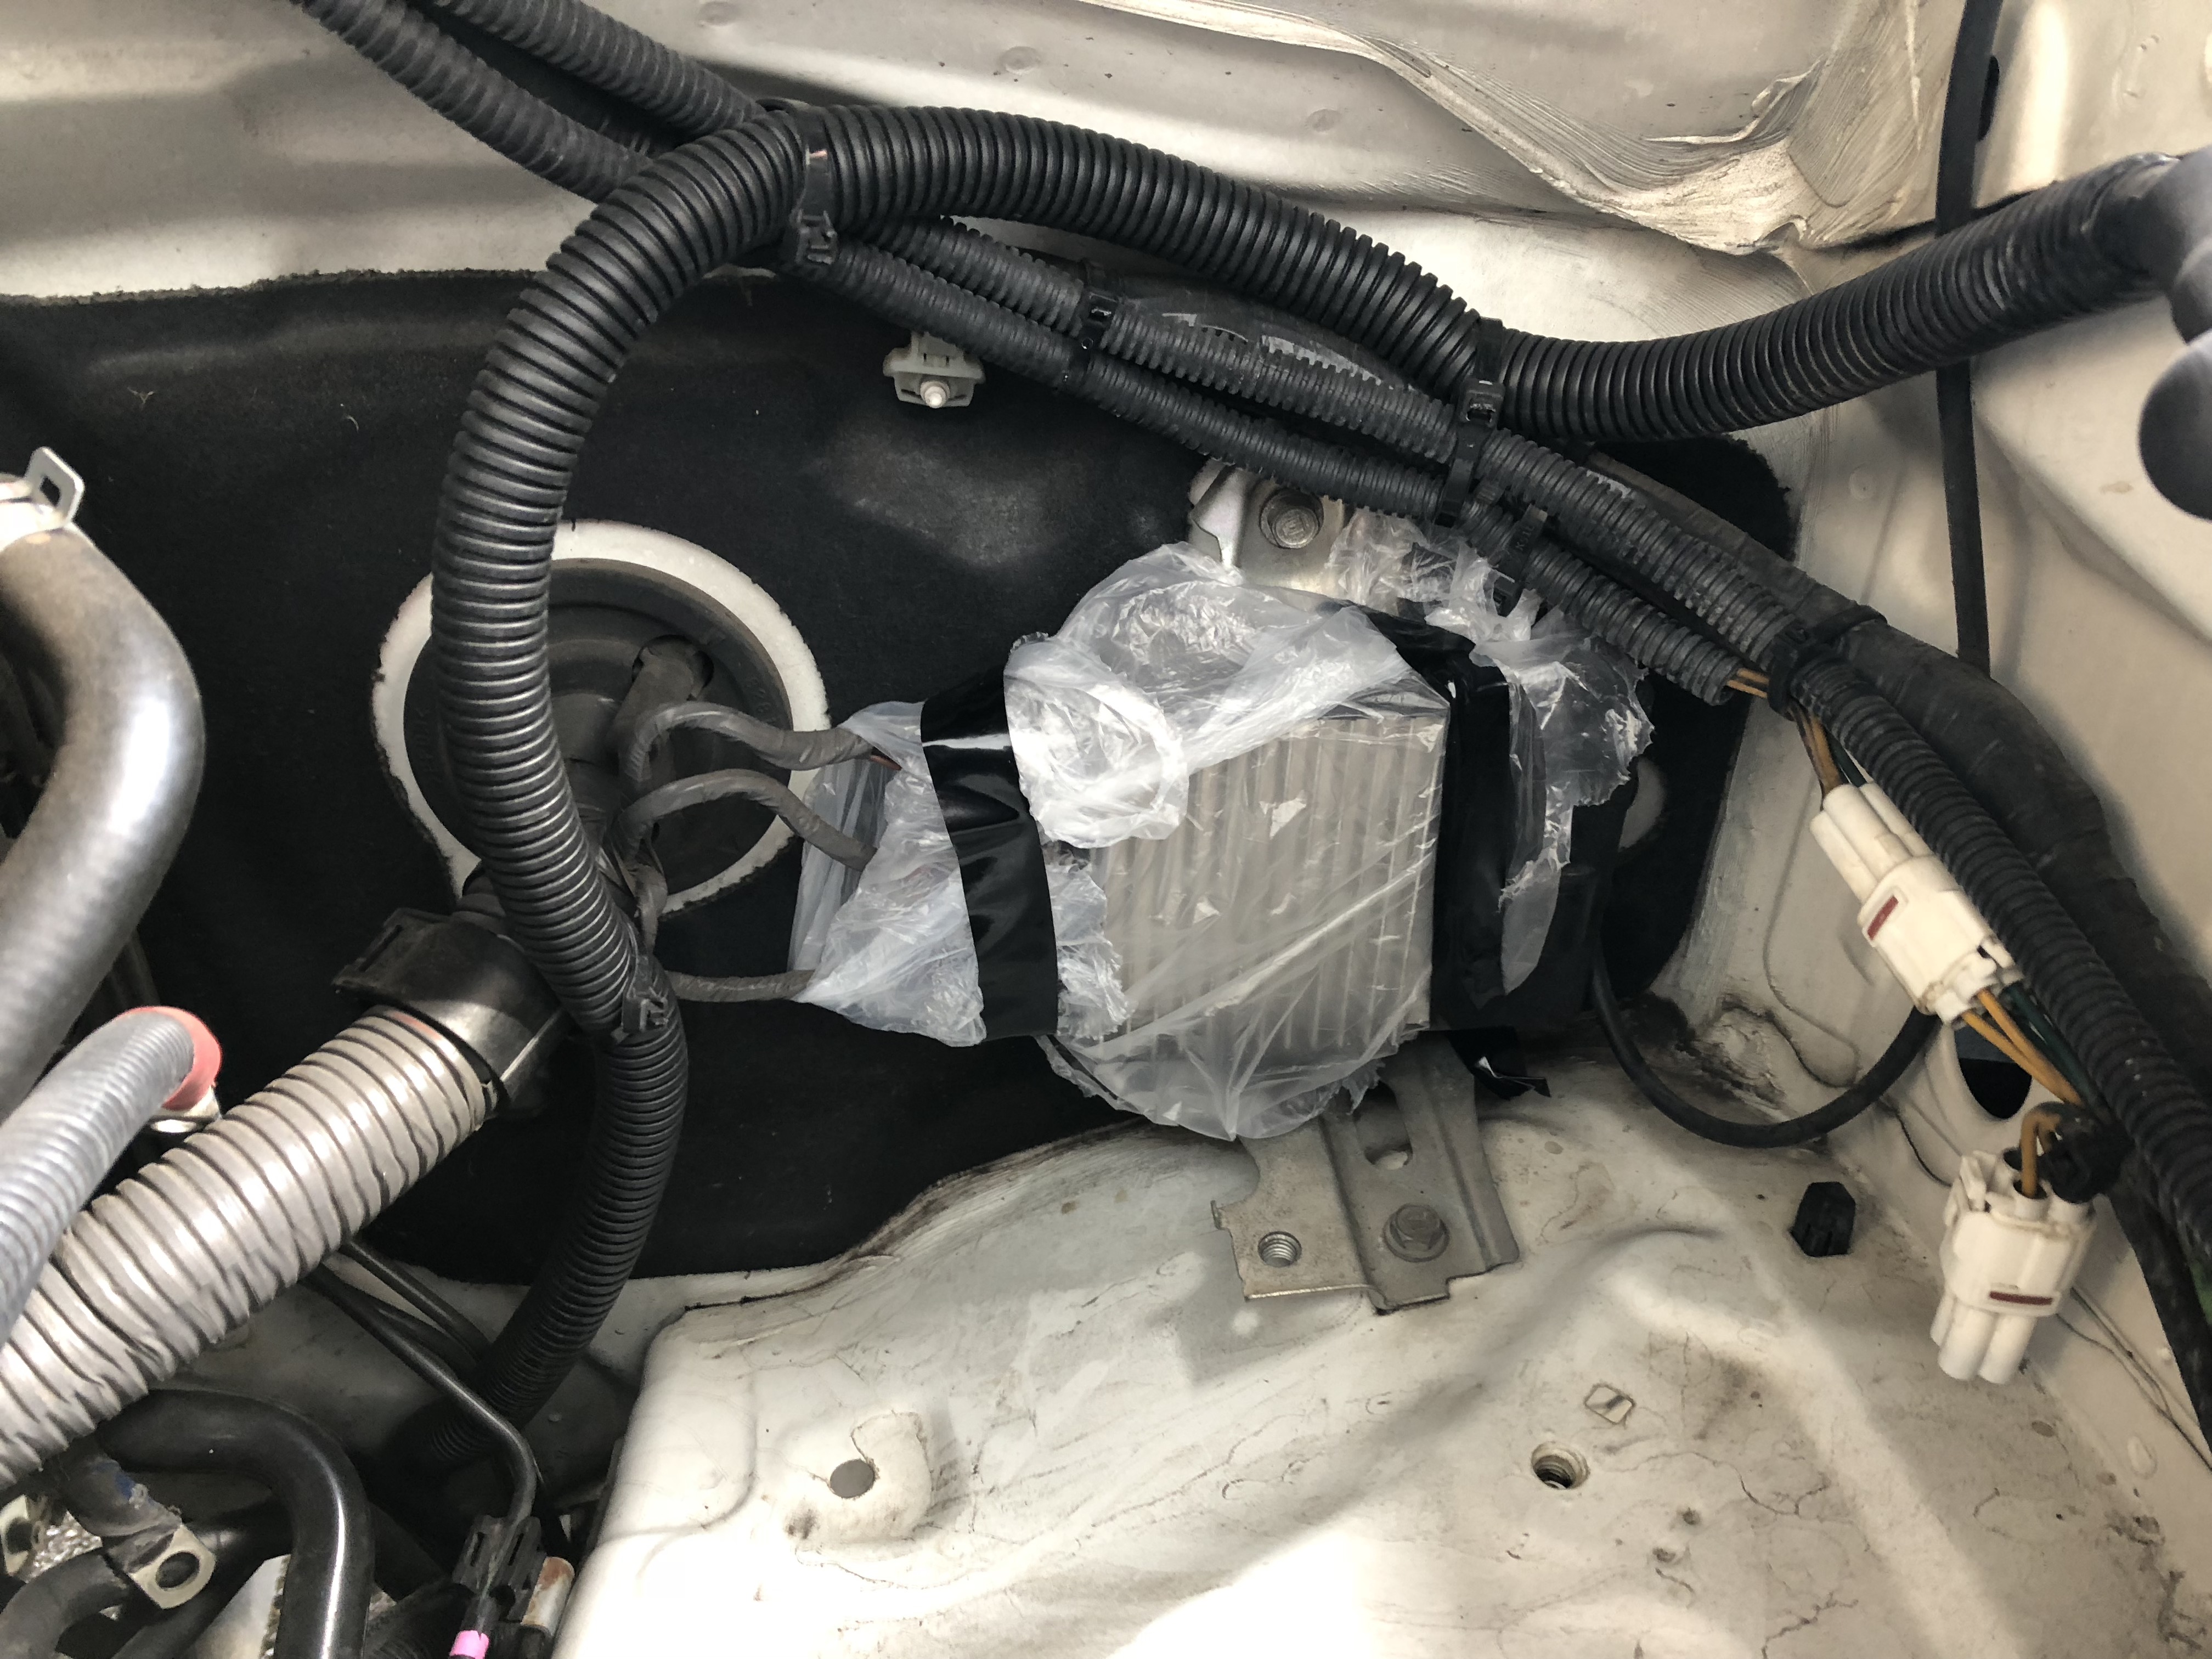
Firstly, locate any exposed wires, ECU and fuse boxes in the engine bay. These are located in different positions in different cars however they are easy to spot.
Once you have located all exposed wires the next step is to cover them up. We usually use plastic wrapping however an old supermarket bag is fine along with some tape to ensure the plastic doesn’t move during cleaning.
The wrapping doesn’t need to be pretty as it’s a temporary thing, it just needs to prevent water spray from soaking the leads.
STEP 2 – CLEANING THE ENGINE BAY
With so many different materials in modern engine bay from plastics, metals, carbon and rubbers, having a system anybody can do safely in the driveway with products common in your wash kit is vital, and this is the safest you can get!
You will need 5 items to really make washing your engine bay a breeze. Most of these should be in your collection already.
- Bodywork Shampoo Conditioner. This shampoo provides a low foam wash which is perfect for engine bays and much safer and more controlled than foaming washes. The last thing you want is to be chasing foam around your engine bay. https://www.autoglym.com.au/bodywork-shampoo-conditioner
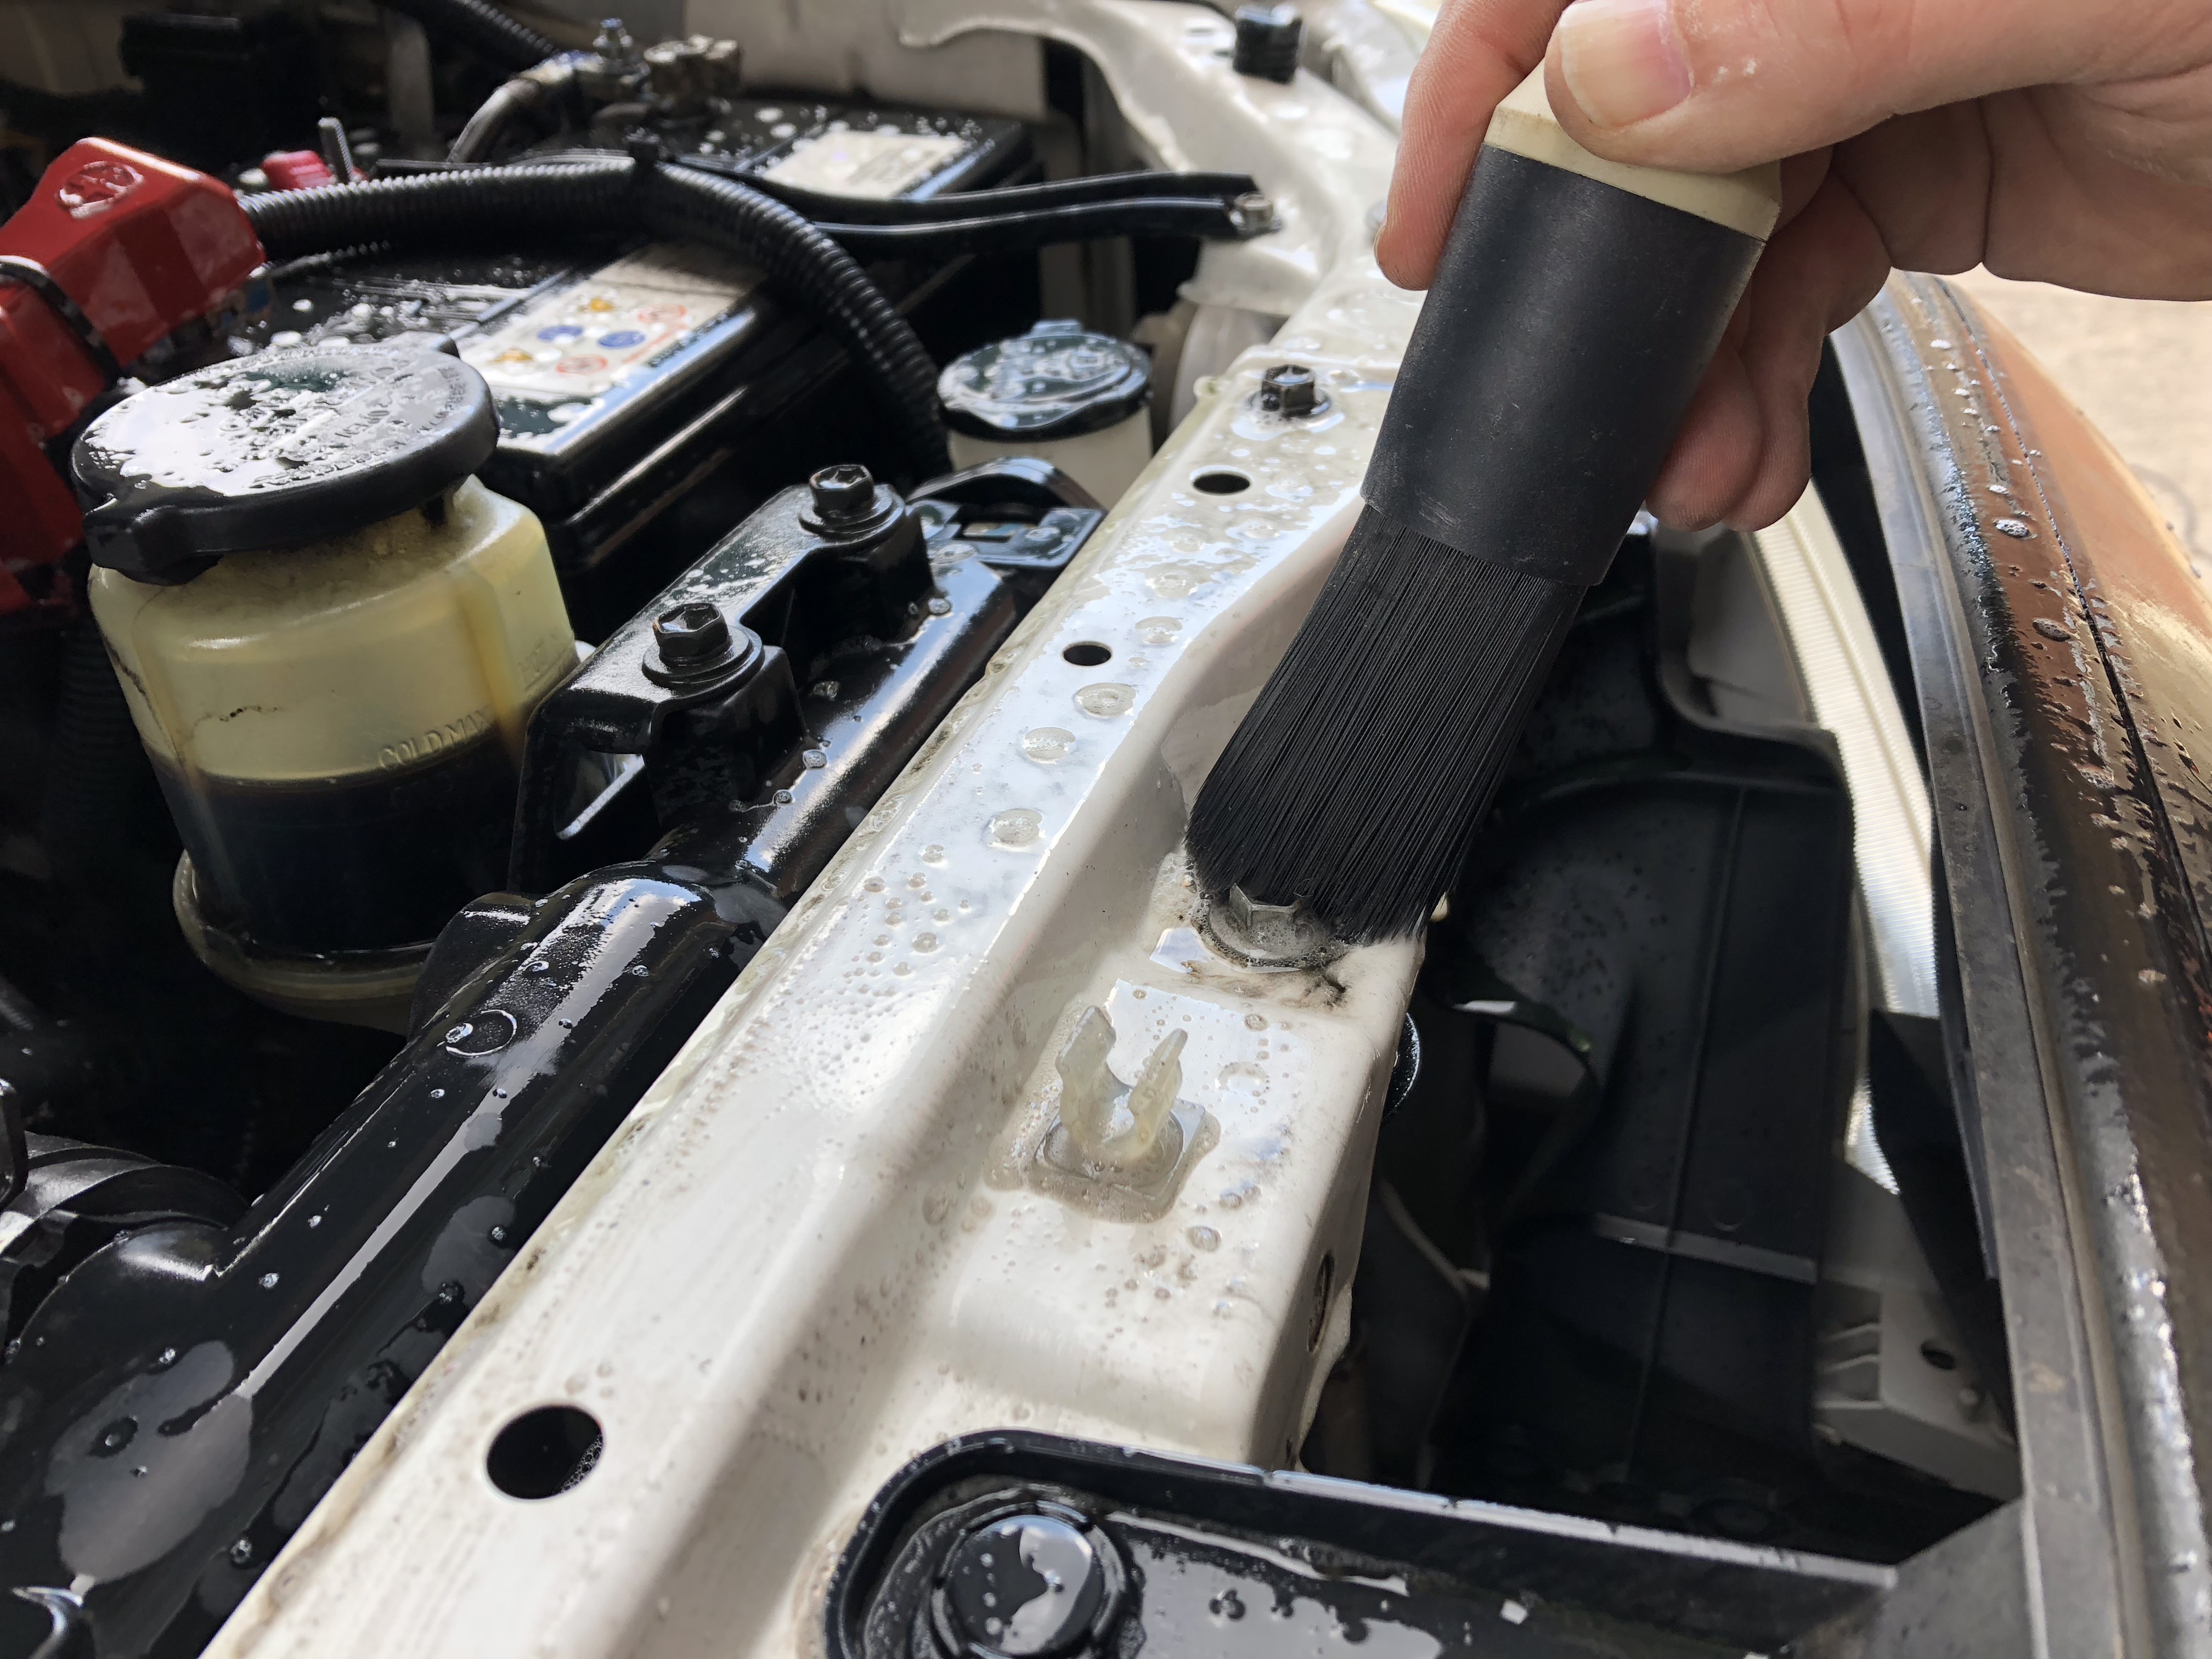
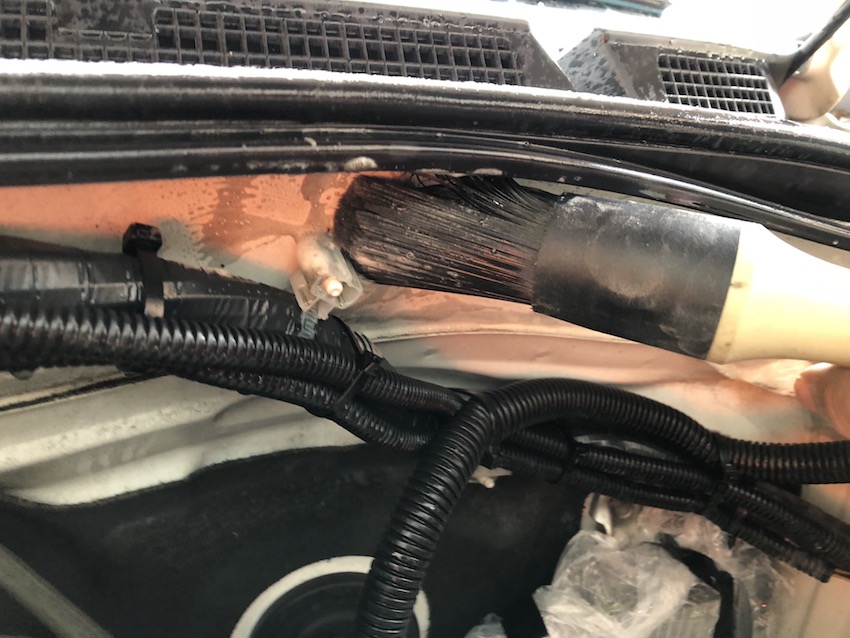
- Brush – our rubber bristled wheel brush is perfect for engine bays and allows you to get good pressure around the tight corners and bolt heads. https://www.autoglym.com.au/hi-tech-wheel-brush-au
- Pump applicator. Any hand pump applicator will make squirting the solution quick and easy around the engine bay.
- Pressure Washer. Any small pressure washer will do the trick here. If you don’t have a pressure washer then a hose will be fine with a fan head attachment.
- Vinyl & Rubber Care. This will be used to finish the engine bay at the end. https://www.autoglym.com.au/vinyl-rubber-care
DILUTION
The pump applicator was a 1L bottle which we filled up to 950ml water and then 50ml Bodywork Shampoo Conditioner. You can increase the ratio if desired however Bodywork Shampoo is highly concentrated so 50ml was fine for us on this wash.
SPRAY THE MIXTURE
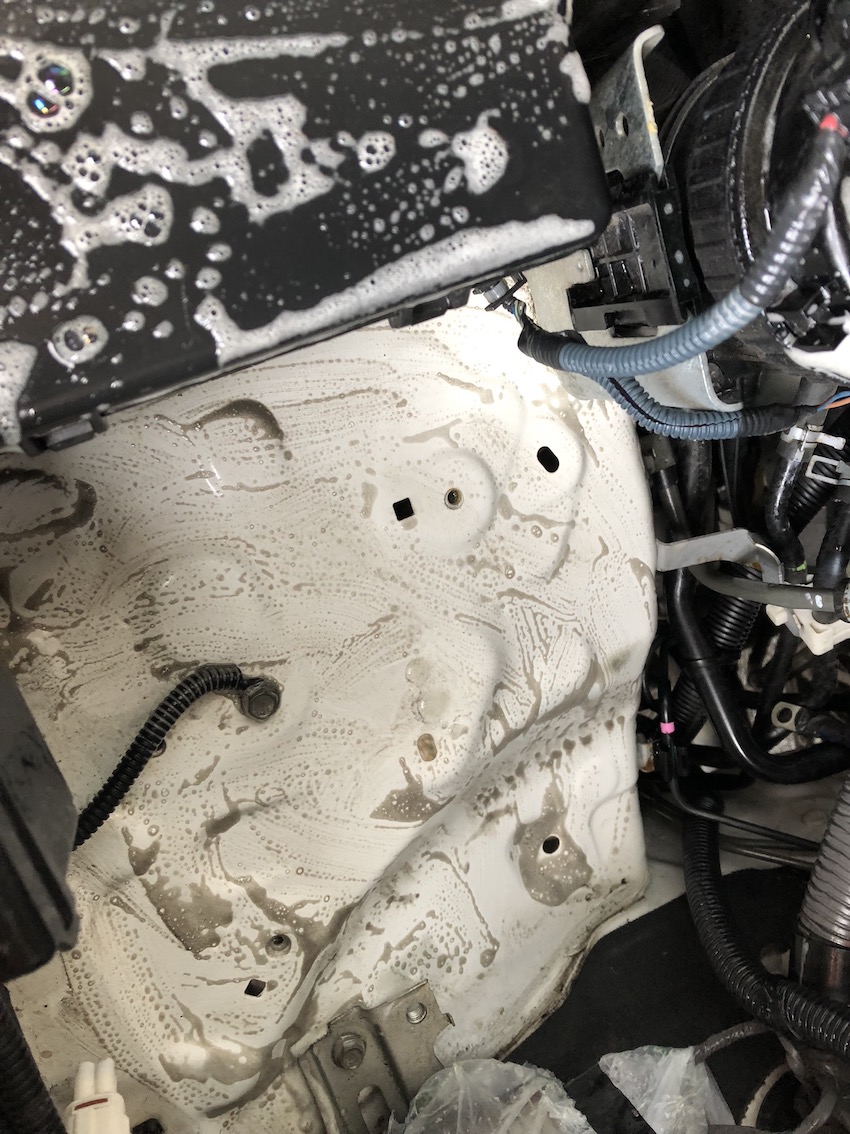
Spray the solution around the engine bay covering as much as you can in a thin fluid. The idea is to allow the water/Shampoo mixture to gently start to soften the dirt rather than flooding the engine bay.
AGITATE
With years of grime in the engine bay, agitating the shampoo mixture is the only real way to clean the engine bay. The best way to do this is with the brush.
As soon as you start to move the brush around you will see the dirt lifting off.
As you move around the engine bay pay attention to the solution. Even though it’s a neutral wash, like the external panels – don’t let it dry. If it looks like the first parts may dry then either apply a little more solution or start to rinse. You can come back to the dirty areas later.
DON’T FORGET THE BONNET
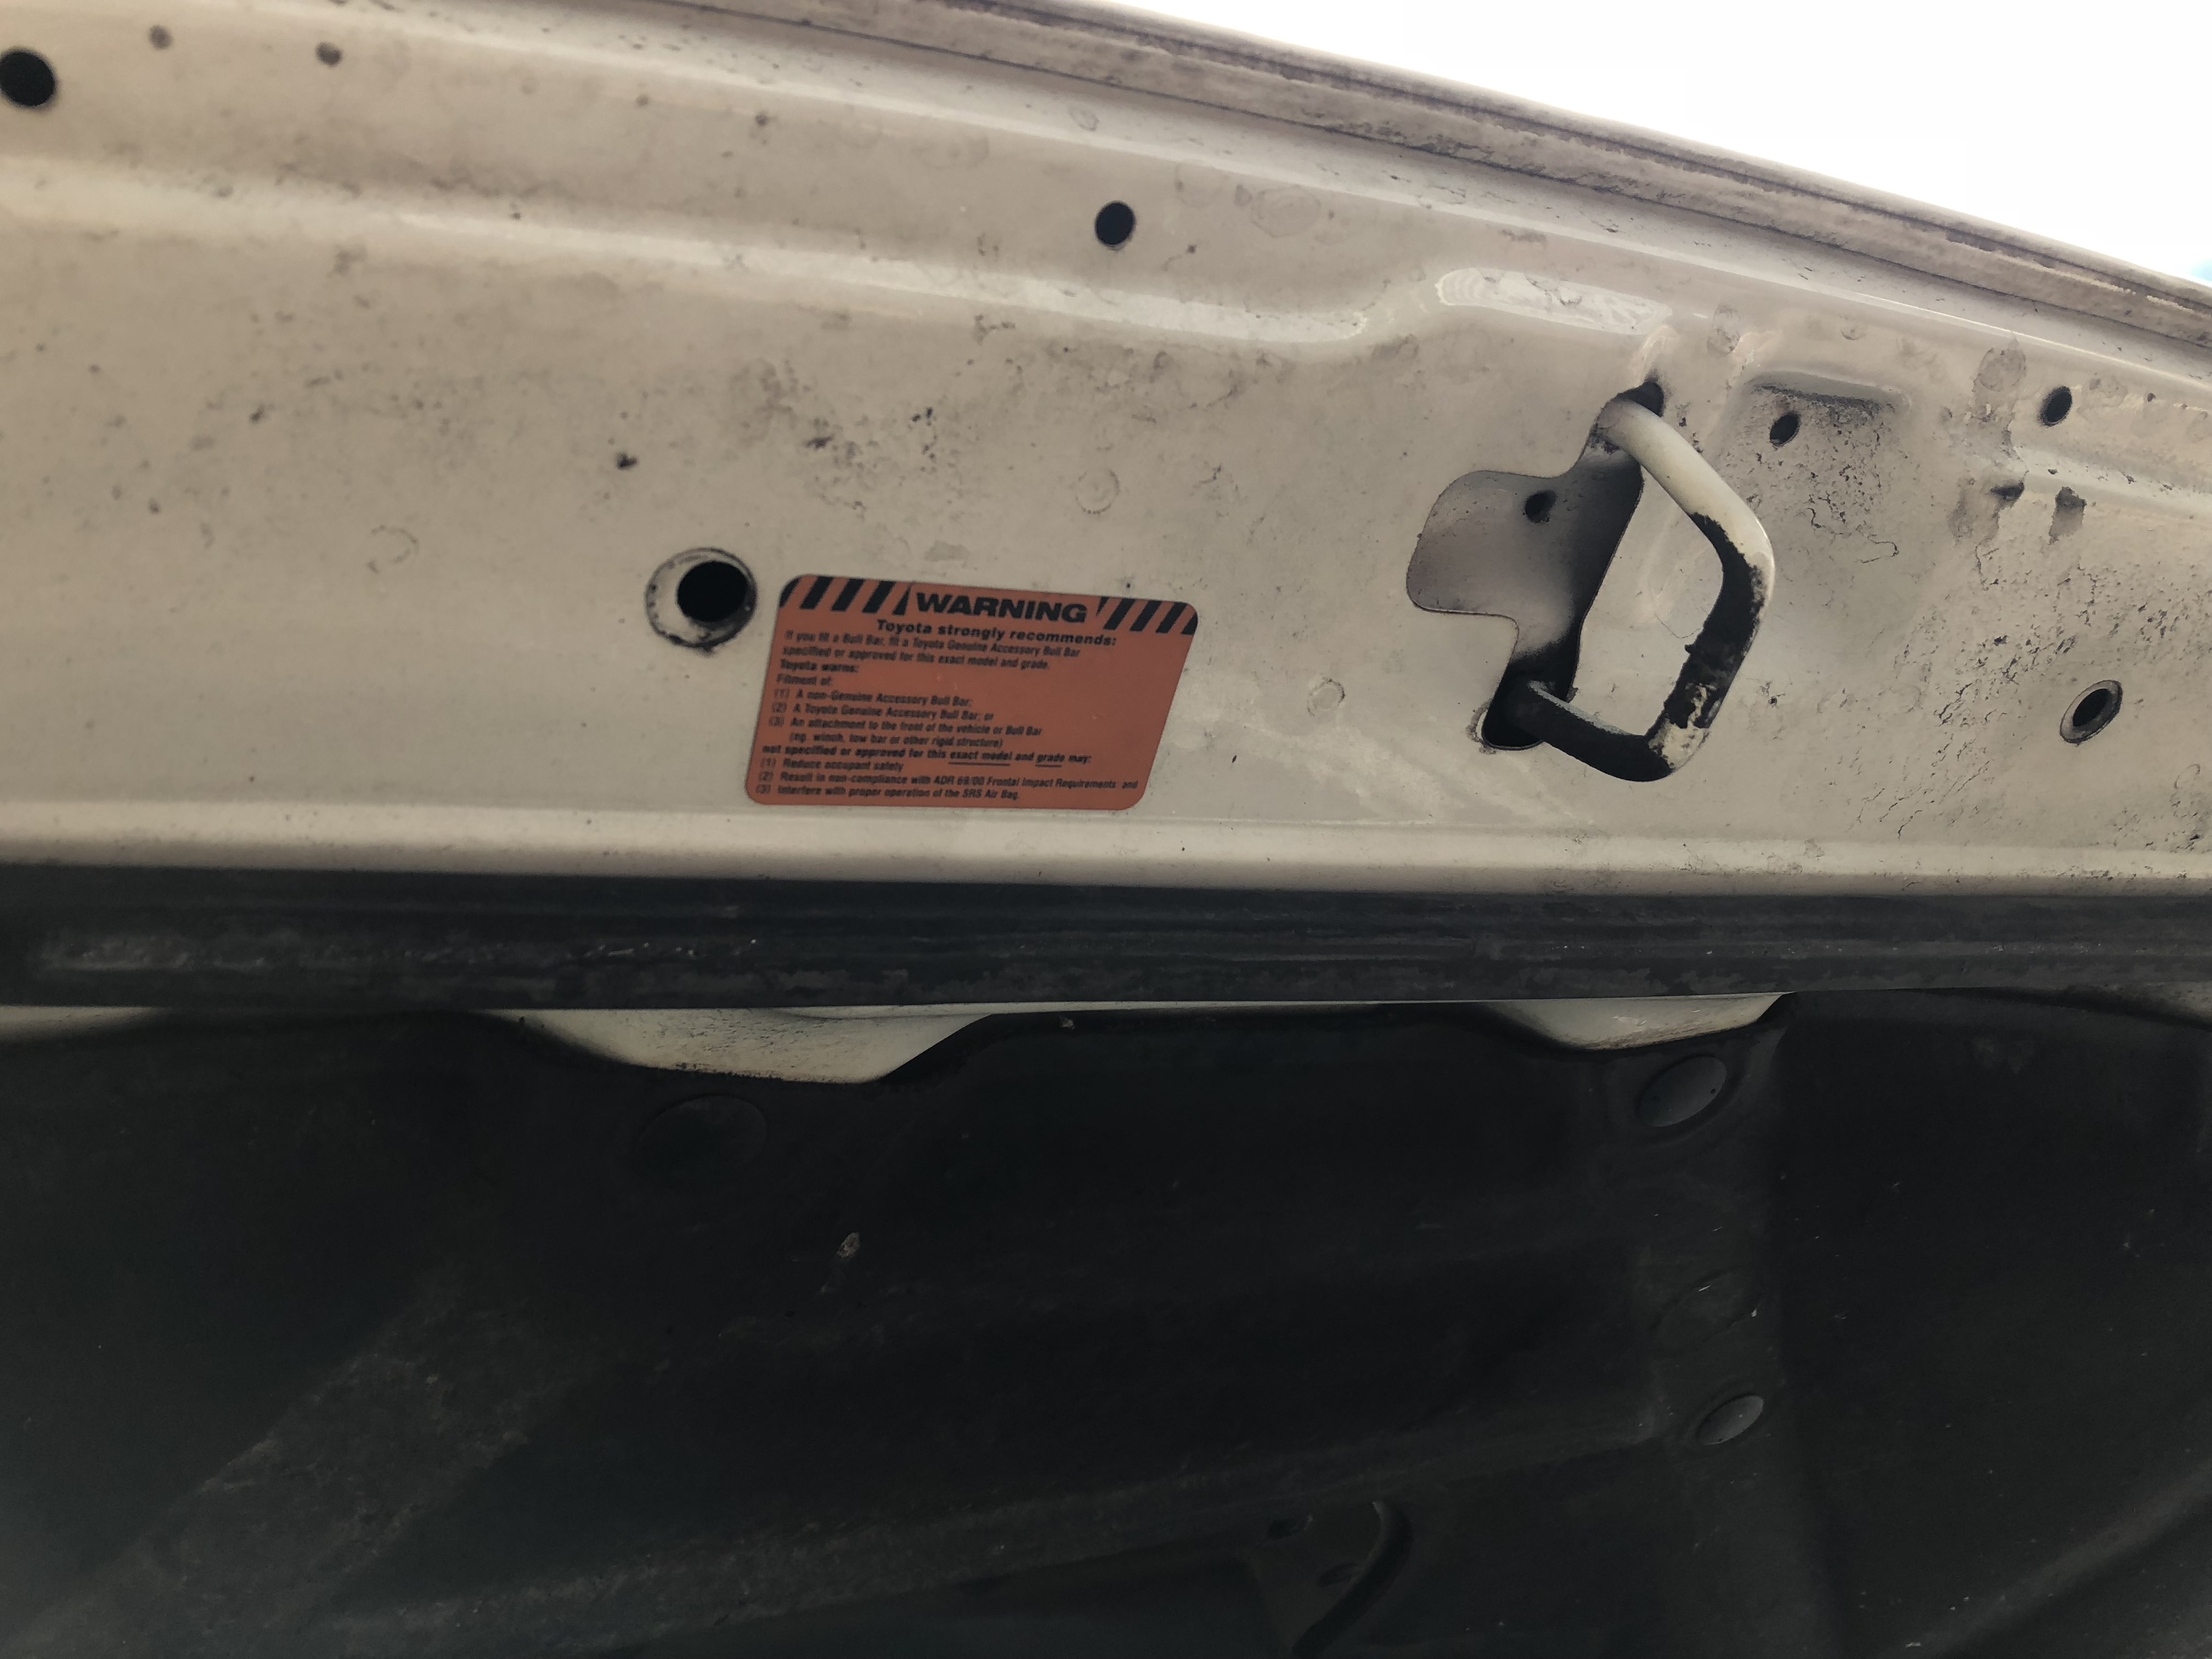
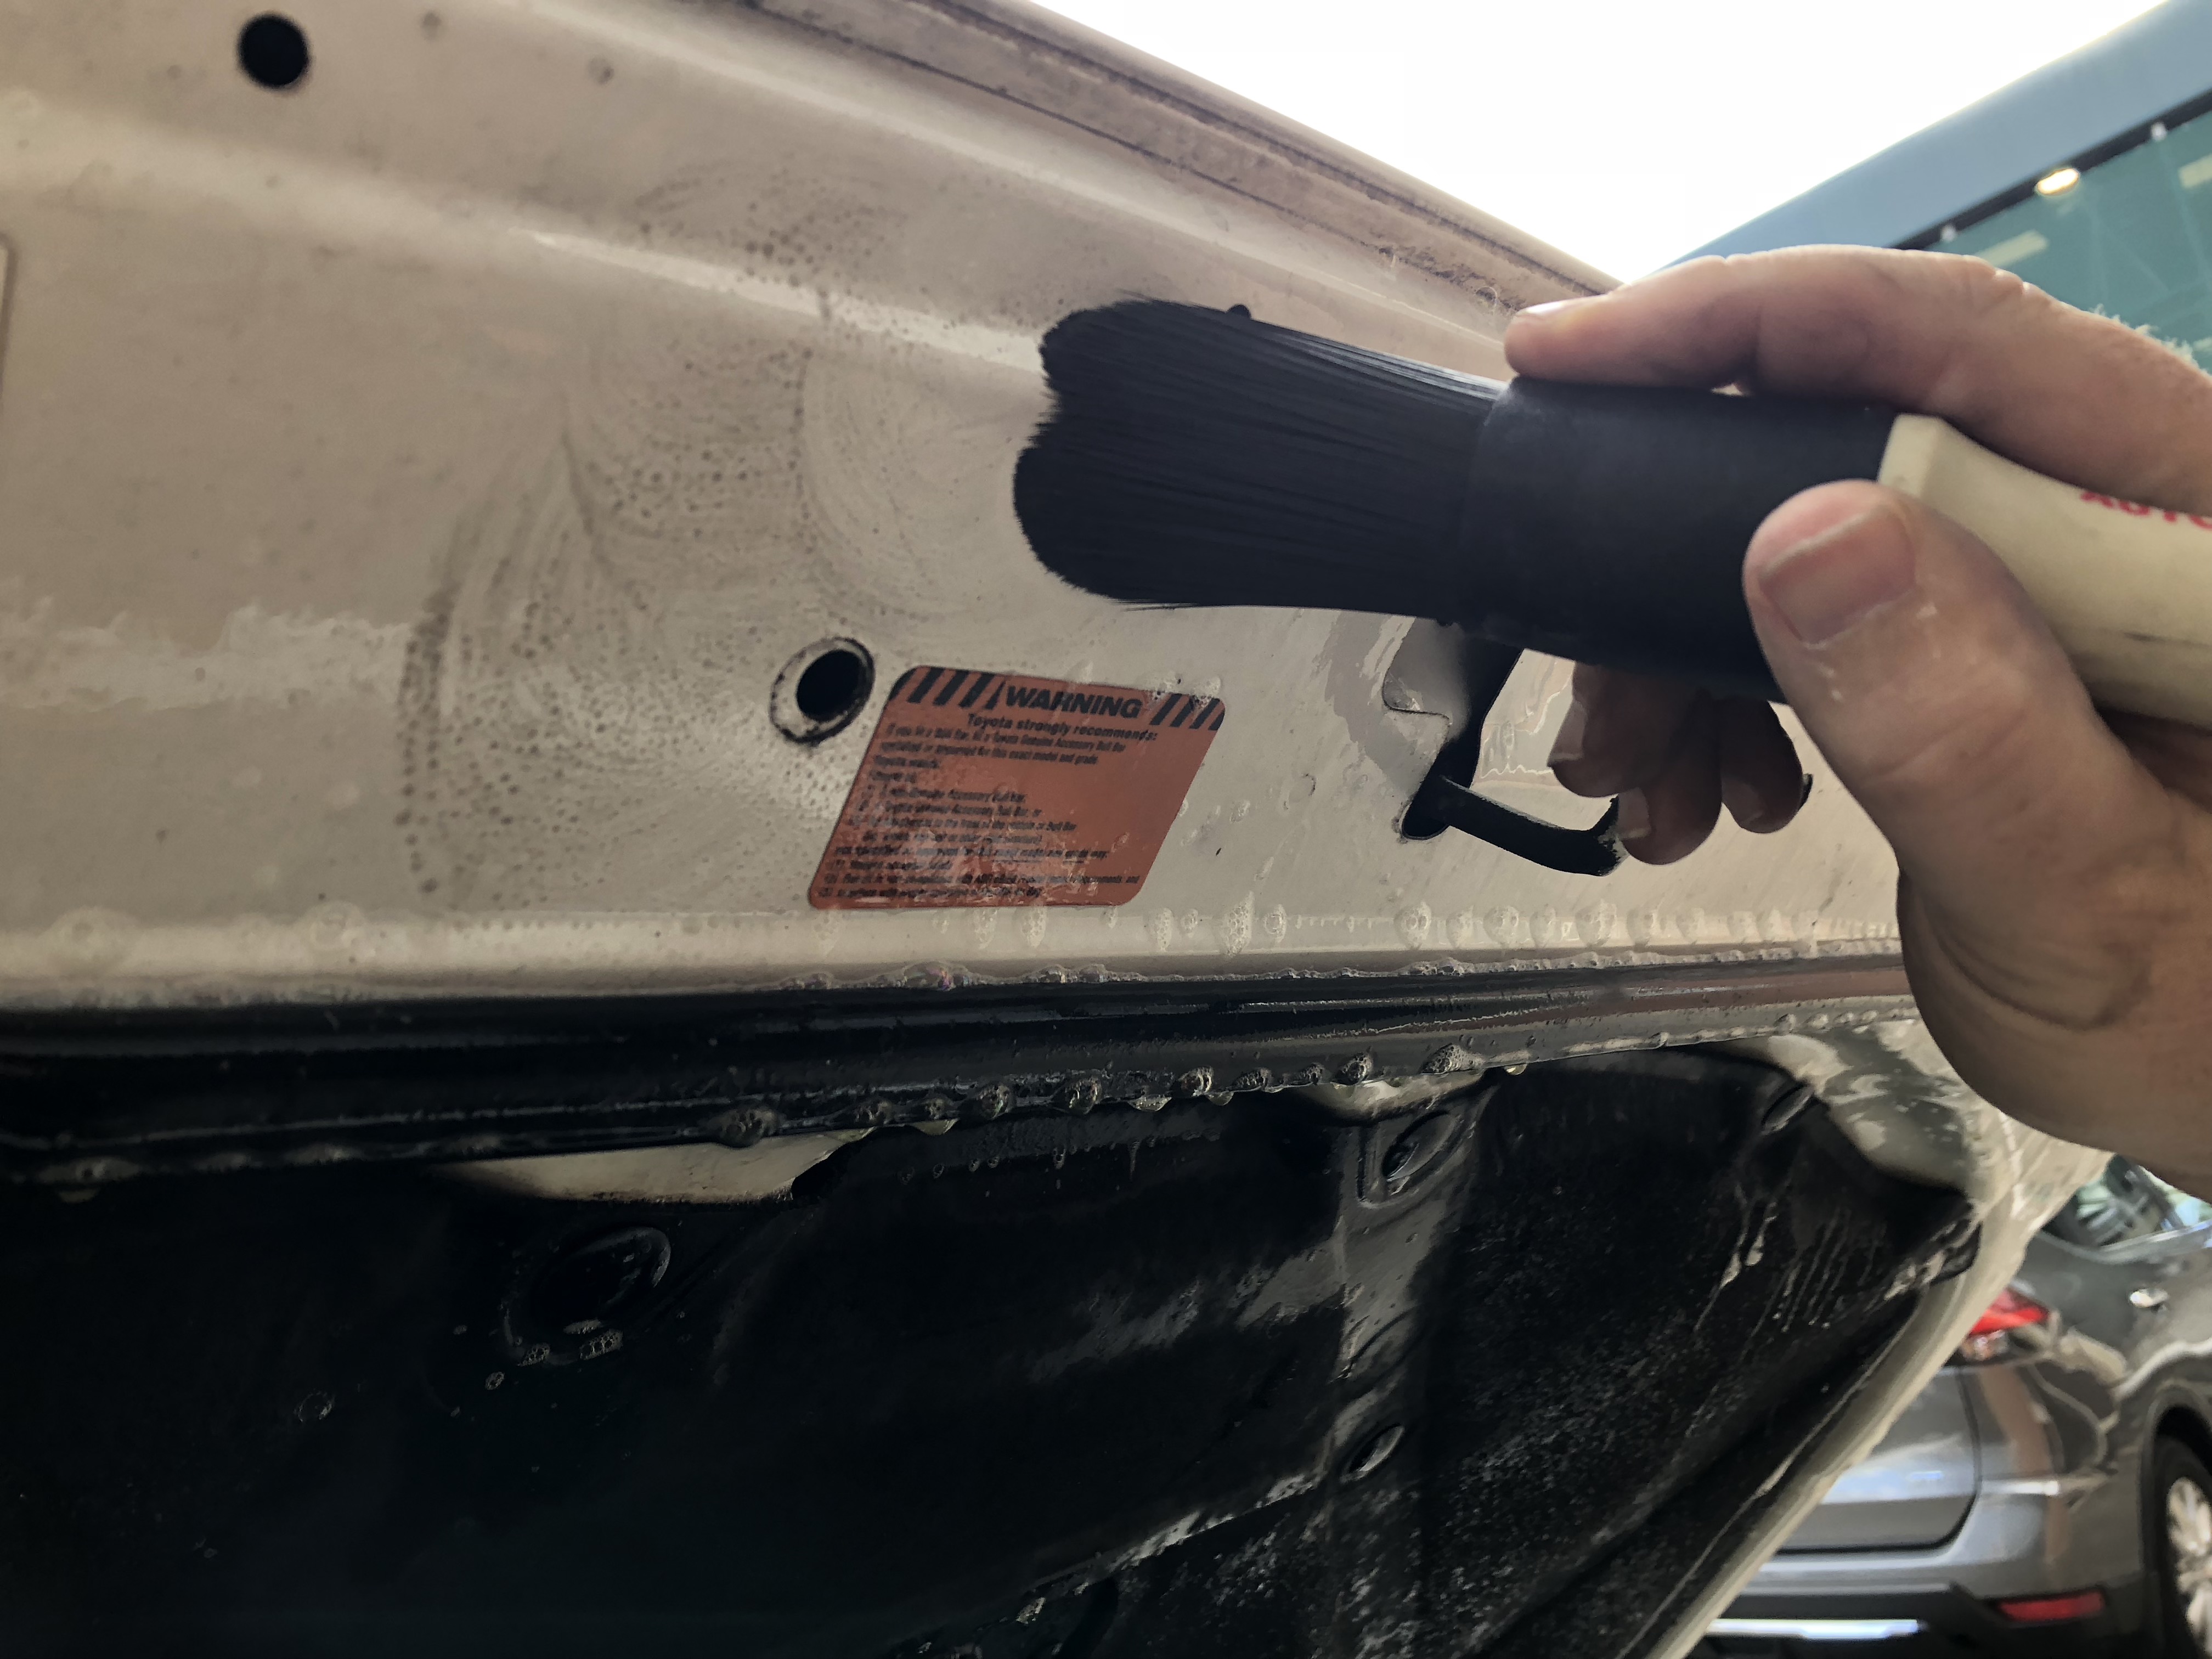
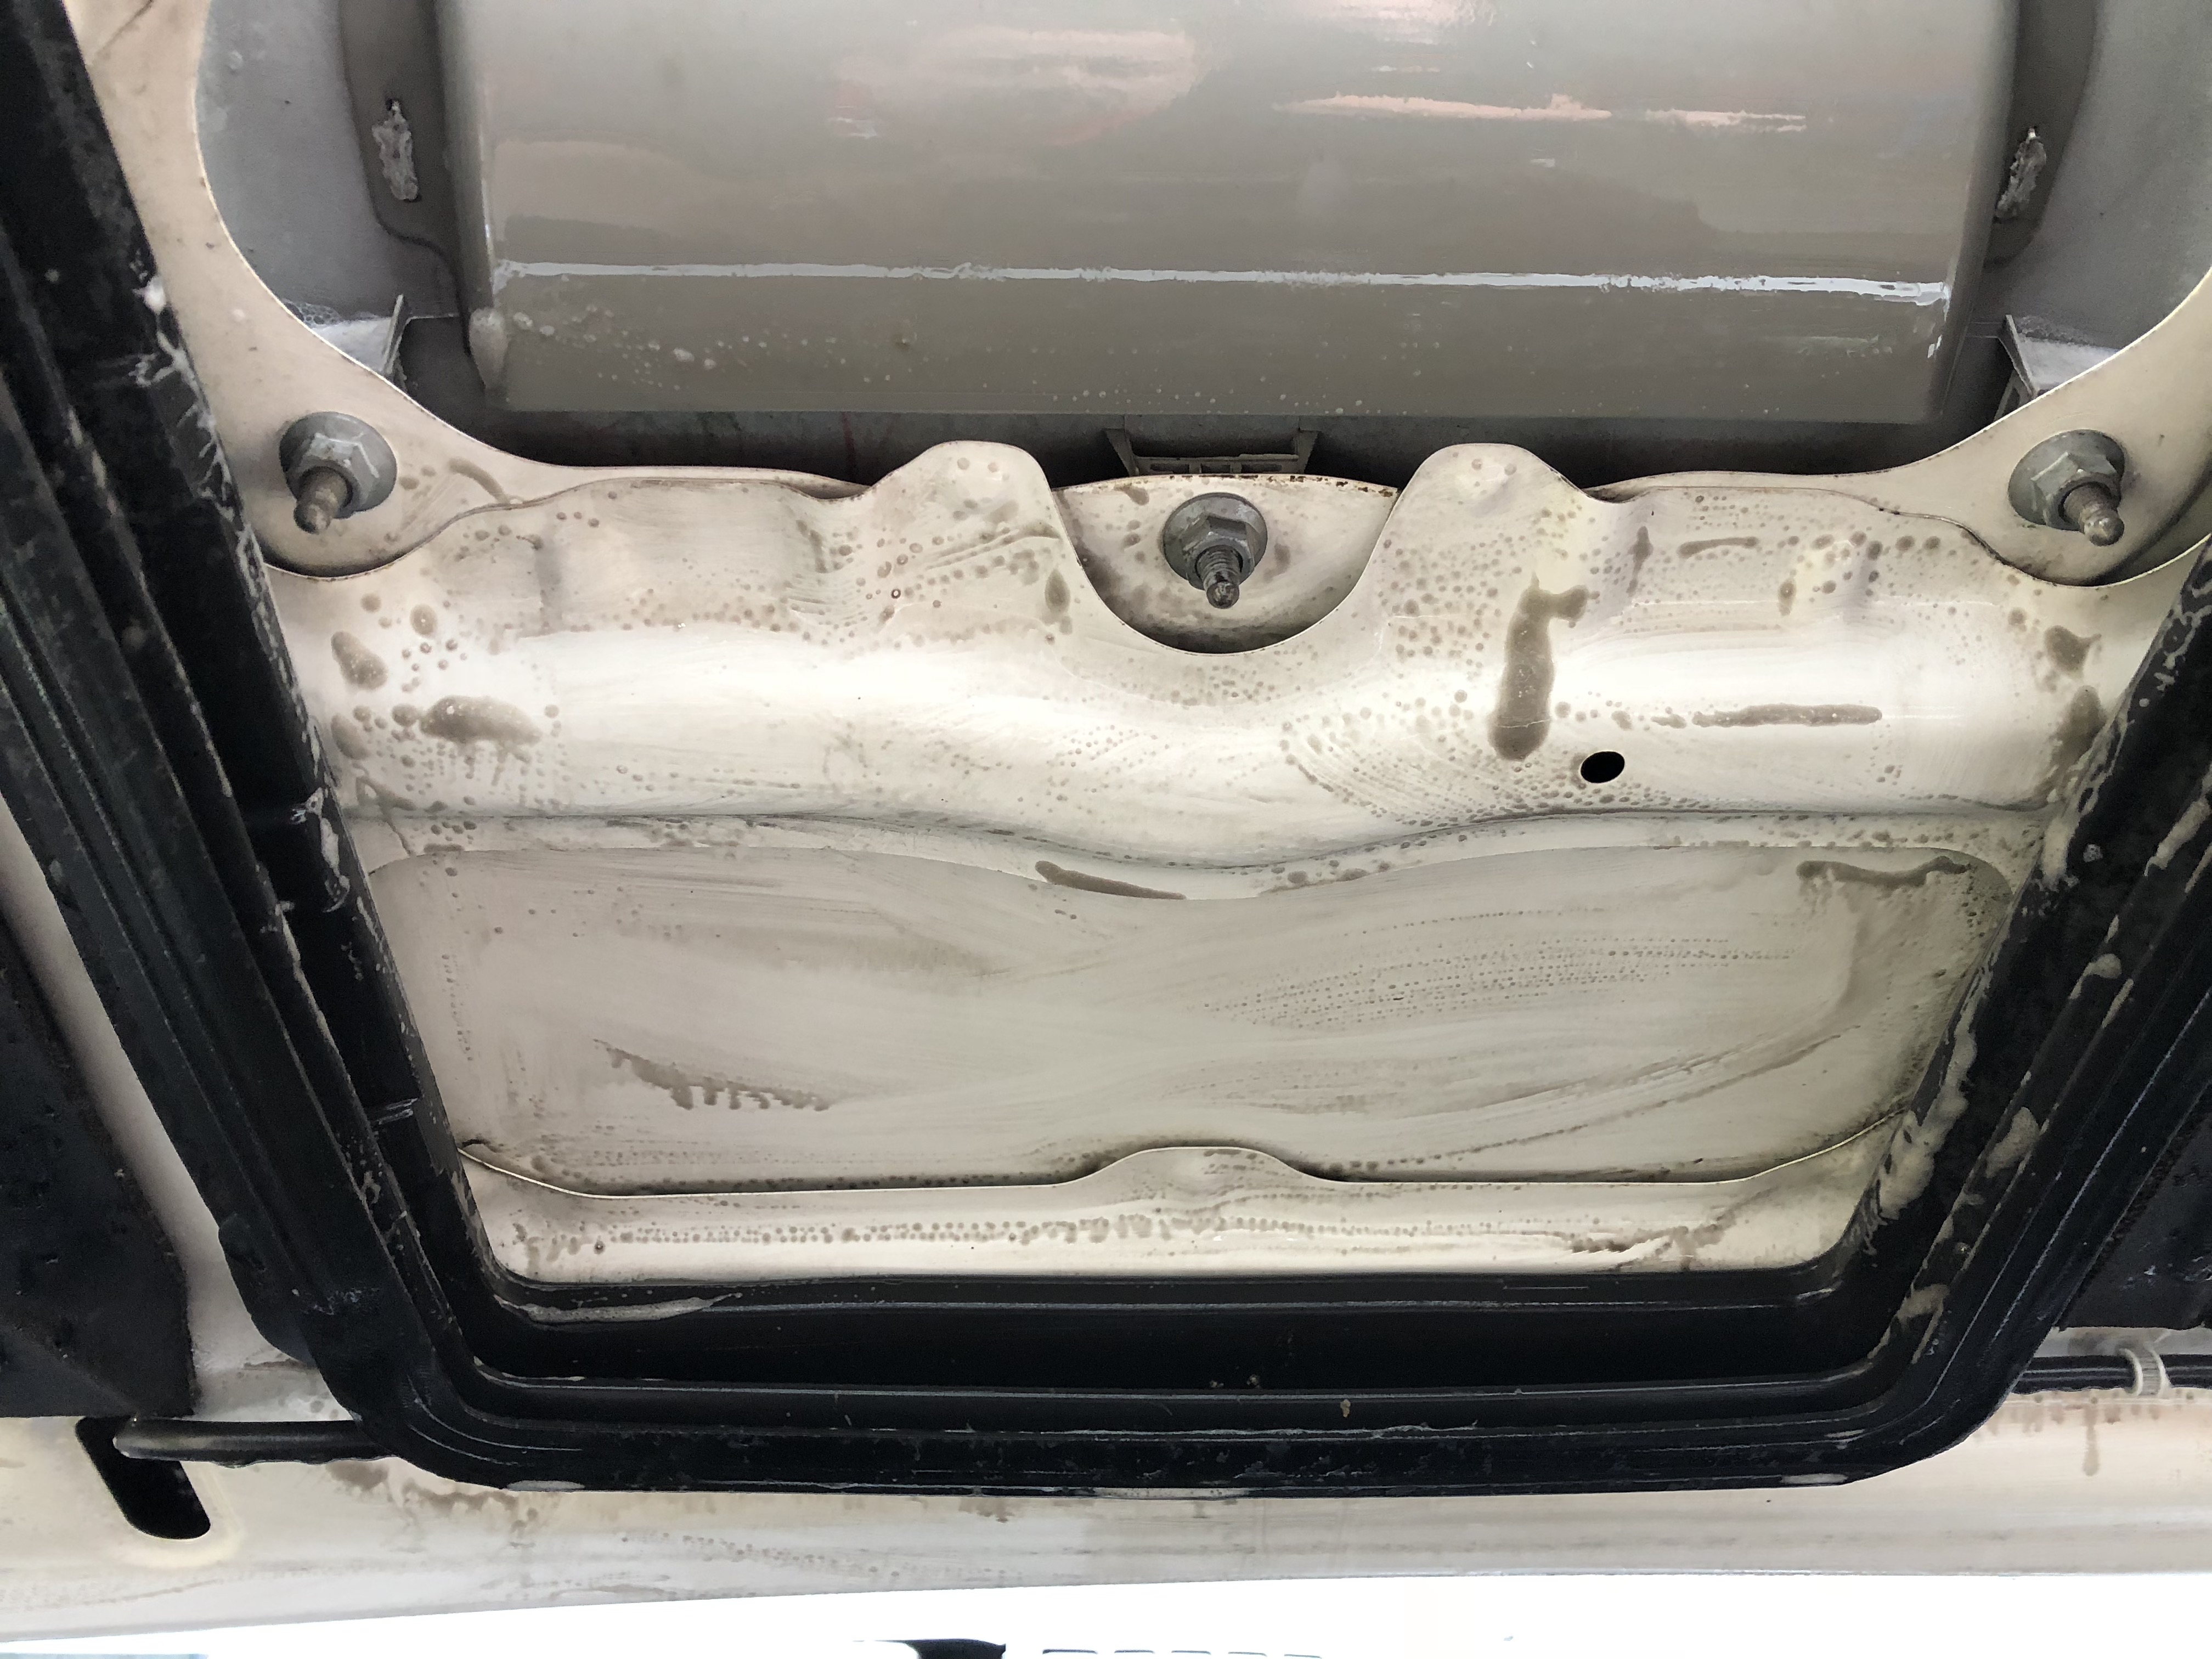
A lot of people only look down into the bay. Don’t forget the underside of the bonnet will be just as dirty.
Treat this the same with spraying the solution and then agitating with the brush.
Having a good engine bay and door jamb brush allows you to really get into places a cloth and your fingers don’t and with good pressure to dislodge the dirt safely. It also saves you getting the nicks from any sharp corner in the engine bay so they pay for themselves quickly.
STEP 3 – RINSING
Having a pressure washer makes life easier, but it also uses a lot less water – something that is better when rinsing an engine bay – however its not essential.
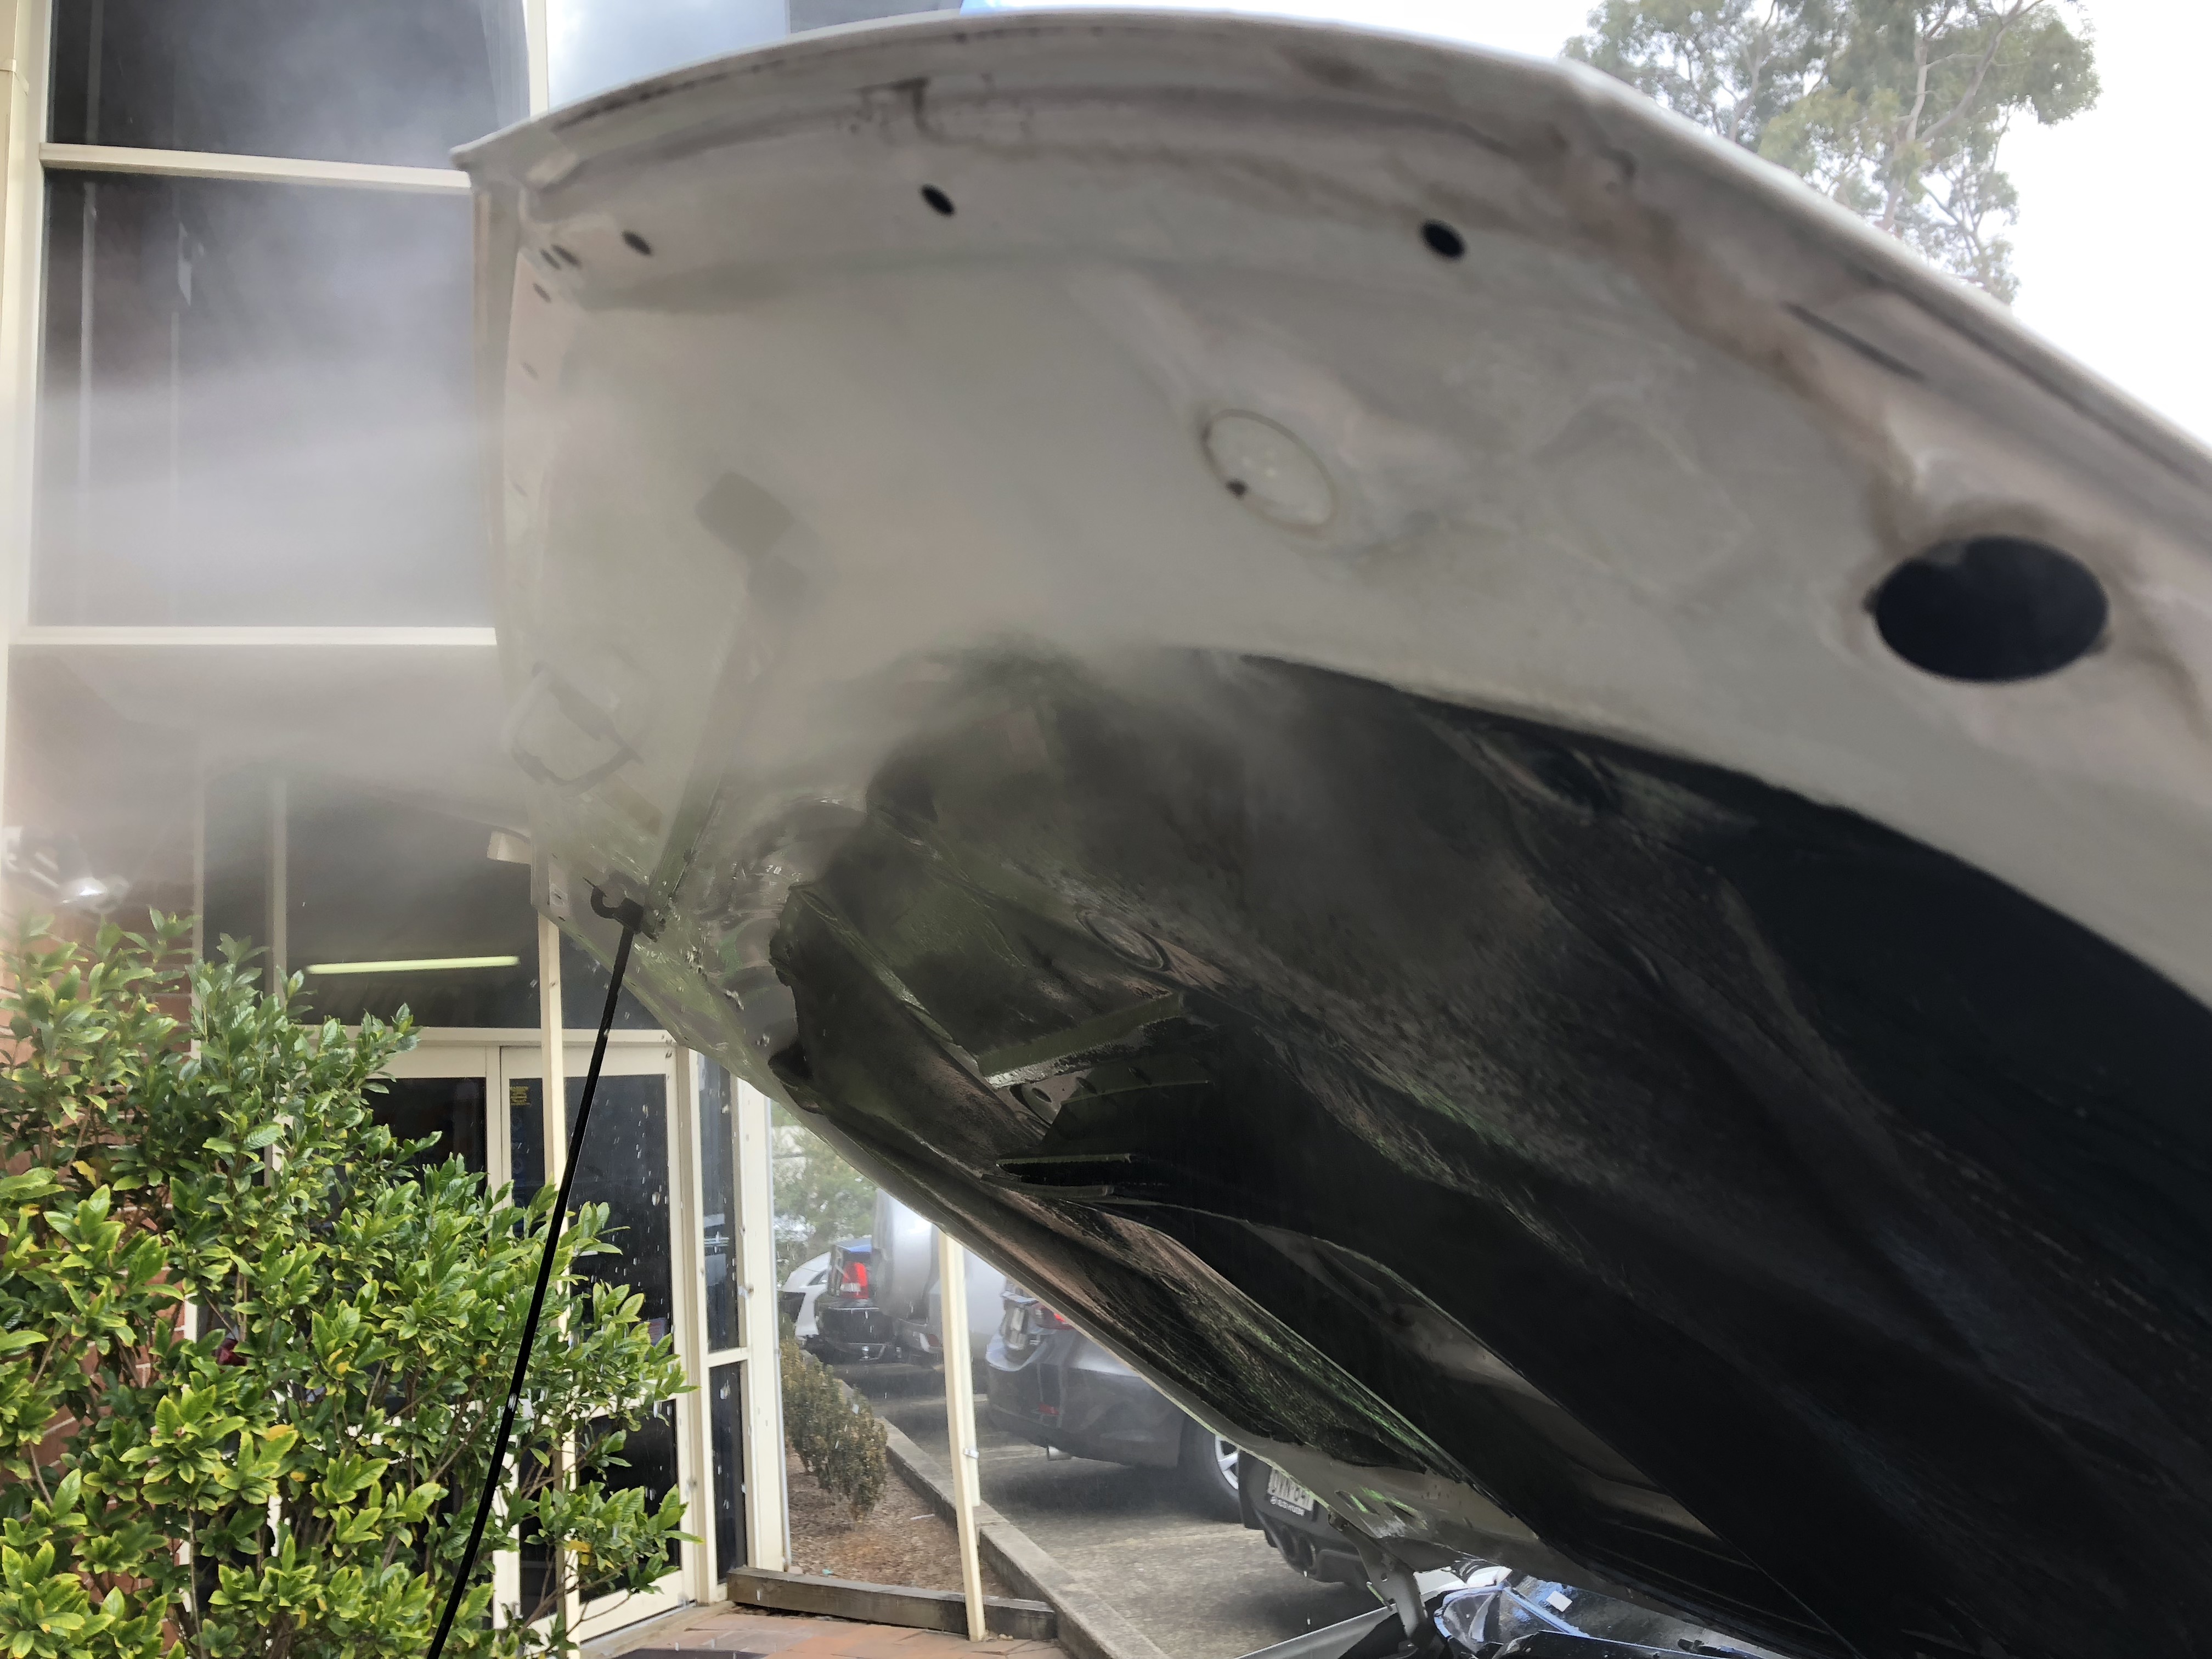
There is no special technique when it comes to rinsing engine bays however try and remember:
- Don’t squirt directly at any sensitive areas or covered areas. If you need to – pull back so the jets pressure is a lot less
- Try not to flood the padding under the bonnet. Old pads can be a little delicate so the added weight of water and being hit with a pressure washer may not be good for them.
- Be efficient. Move around the engine bay quickly but methodically.
- Check you have not missed any areas once you have finished rinsing.
- Don’t be scared. As long as you have covered the electronics you will be fine.
STEP 4 – DRESSING THE ENGINE BAY
Once the Bodywork Shampoo Conditioner solution has been rinsed away check for any missed areas. If you are happy the bay is clean then we finish by dressing the engine bay.
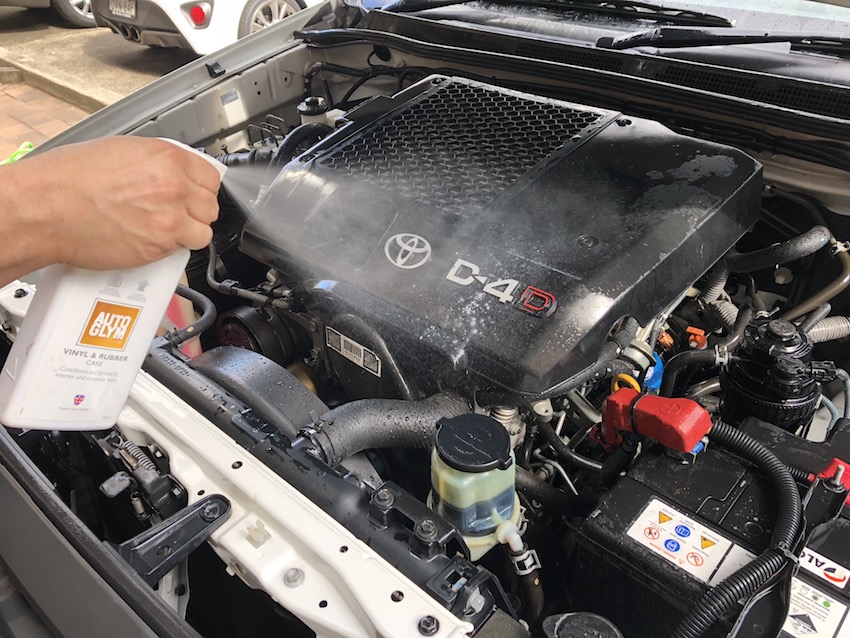
With the engine bay still wet grab the bottle of Vinyl & Rubber Care and squirt liberally around the engine bay. Cover the plastics hoses, engine cover and plastic fan covers. Everything is fine to squirt under there.
Once you have finished applying Vinyl & Rubber Care then just stand back and let it all dry.
Don’t forget to remove the plastic coverings over the electronics before you drive the car.
OIL STAINS
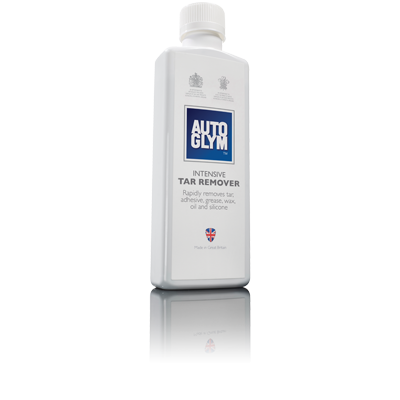
If you have oil, fuel and spilt coolant stains in your engine bay then you will need to spot treat these with Intensive Tar Remover. Apply with a cloth and gently wipe the stain until it cuts through to the paintwork. Give a spot wash or wash the engine bay as normal.
https://www.autoglym.com.au/intensive-tar-remover
CONCLUSION
Washing your engine bay is not hard but very rewarding once done. The main things you need to remember are:
- Locate and cover all exposed wiring
- Use a good brush if possible to loosen the dirt quickly
- Use the pressure washer efficiently
- Finish with Vinyl & Rubber Care for the perfect finish.
If you have any questions on this don’t hesitate to contact us directly.
